HOW TO
LONGBOARD
Getting on a longboard for the first time is a lot simpler than most people think. You don’t need flawless technique, ridiculously expensive gear, or a local skatepark.
All you really need is a stretch of flat pavement, a solid setup, and about 20 minutes of focused practice.
This guide covers all five core skills — stance, pushing, turning, stopping, and carving — plus a structured 2-week practice plan to get you riding confidently from day one.
Still stressed about which board to buy? Finding the right setup is a simple formula. Our best beginner longboard guide breaks down exactly what you need to start cruising smoothly.

Five core skills. Learn them in order, and don’t skip ahead.
Before You Roll: The 3-Part Gear Check
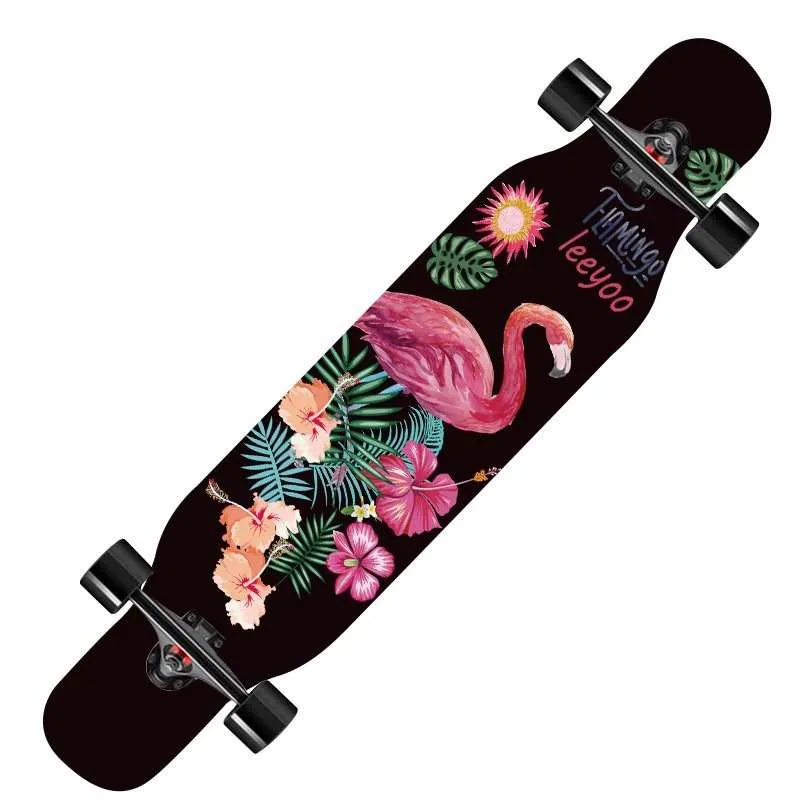
Gear 1 · The Deck
You need a proper setup — not a standard trick skateboard or a tiny plastic cruiser.
A 40-inch deck with soft wheels (78A–82A) gives you a wide, stable platform to find your balance, making the whole learning curve infinitely easier.
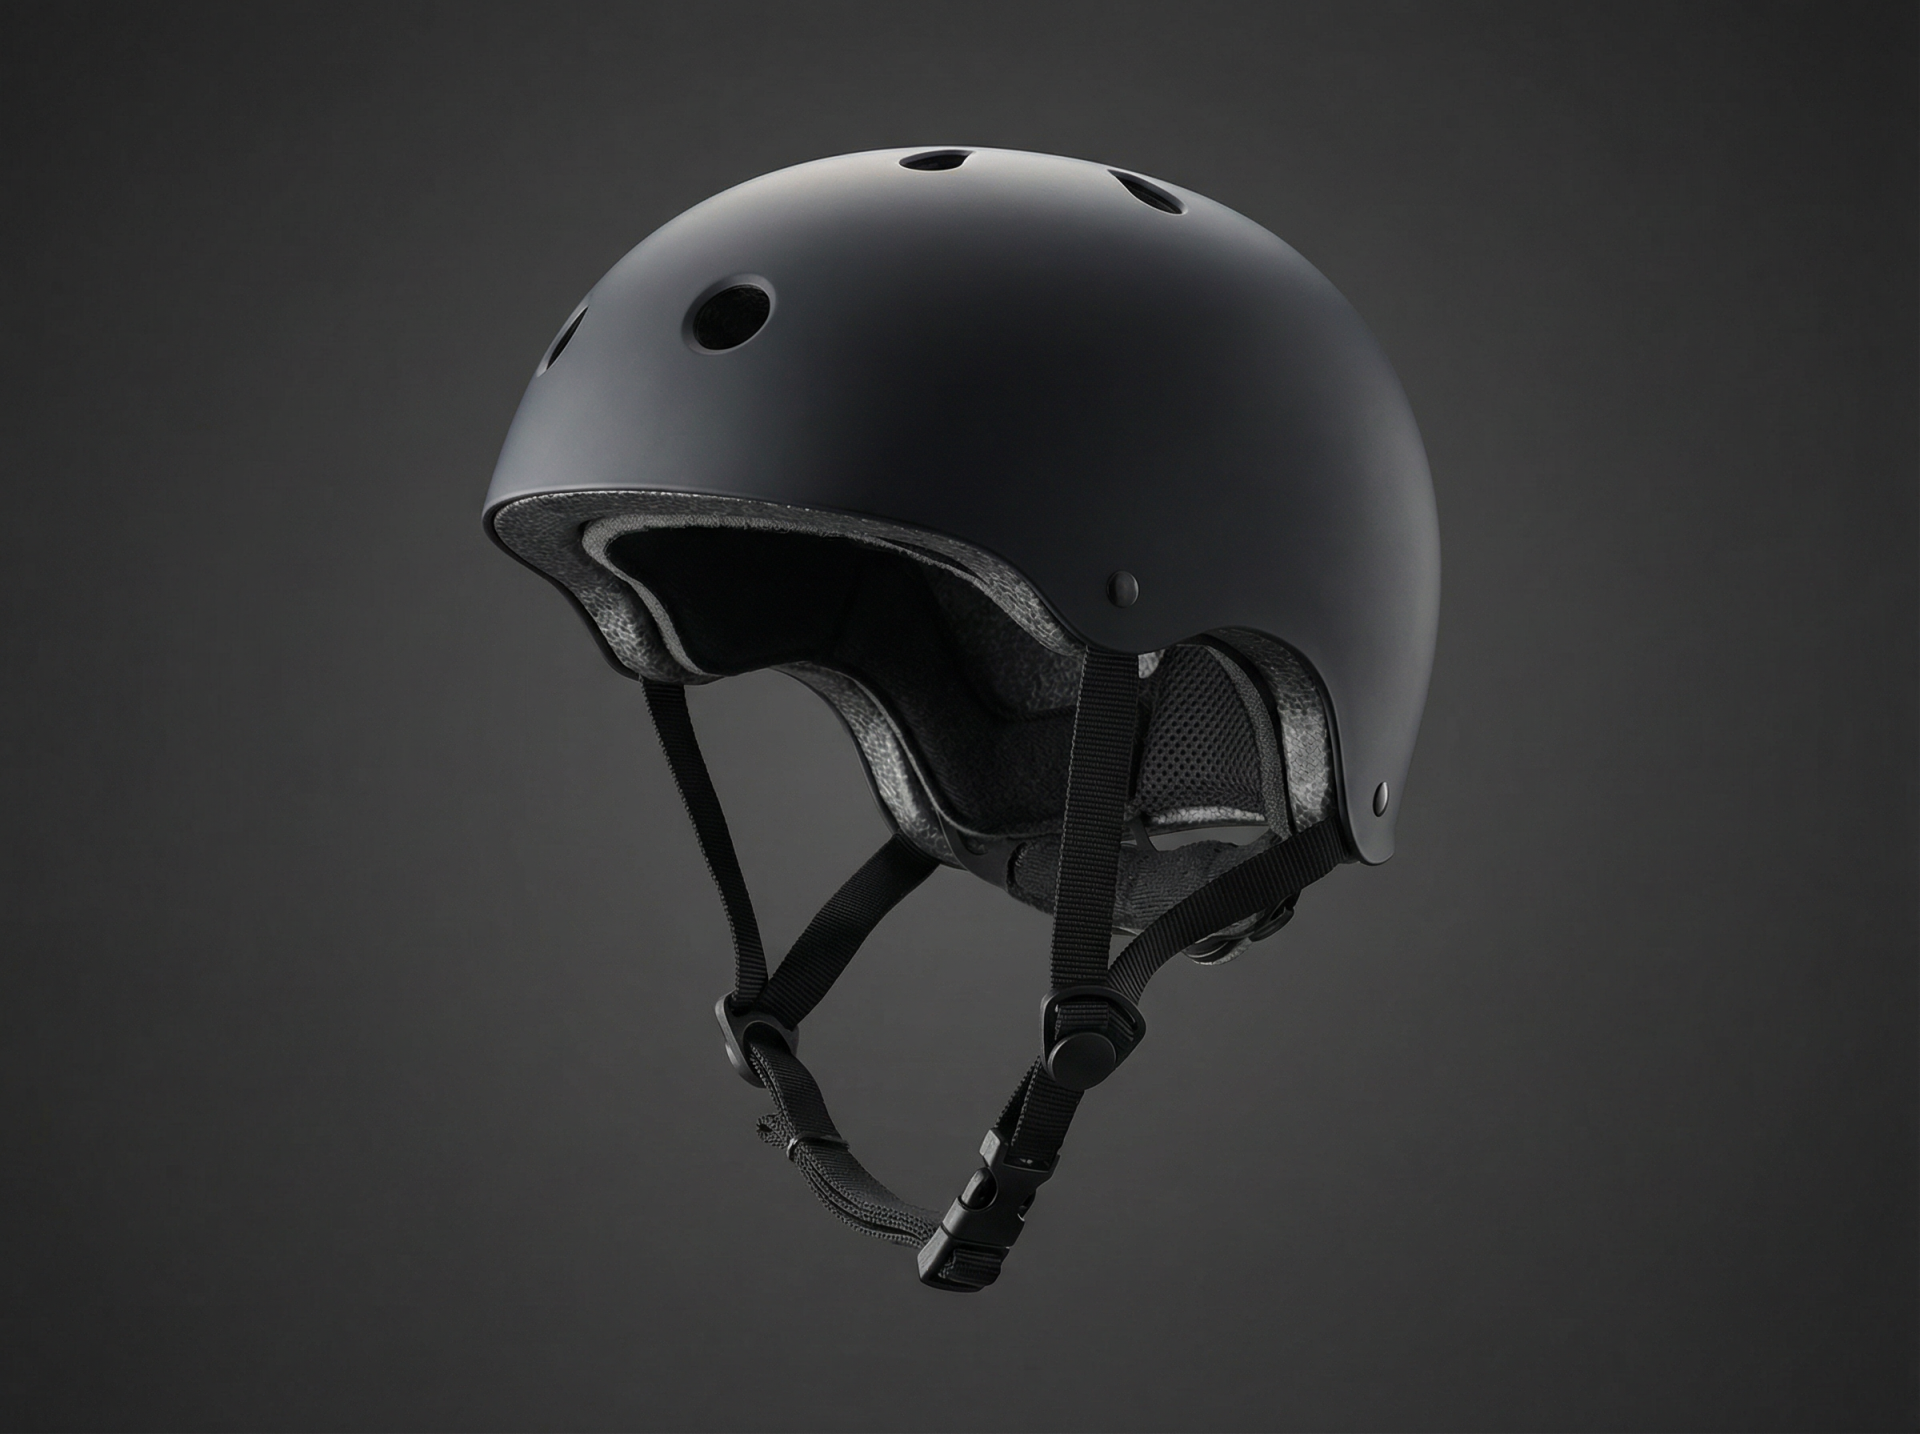
Gear 2 · A Helmet
No exceptions. During your first week, falling is a guarantee, not a possibility. A helmet isn’t a sign of fear; it’s the insurance policy that lets you get back up and keep practicing.
A basic skate helmet runs about $25–$40 and covers you for the entire beginner phase. Wear it until stopping and turning are pure muscle memory.
→ Bonus: Wrist guards and knee pads, especially if you have zero board sports experience.
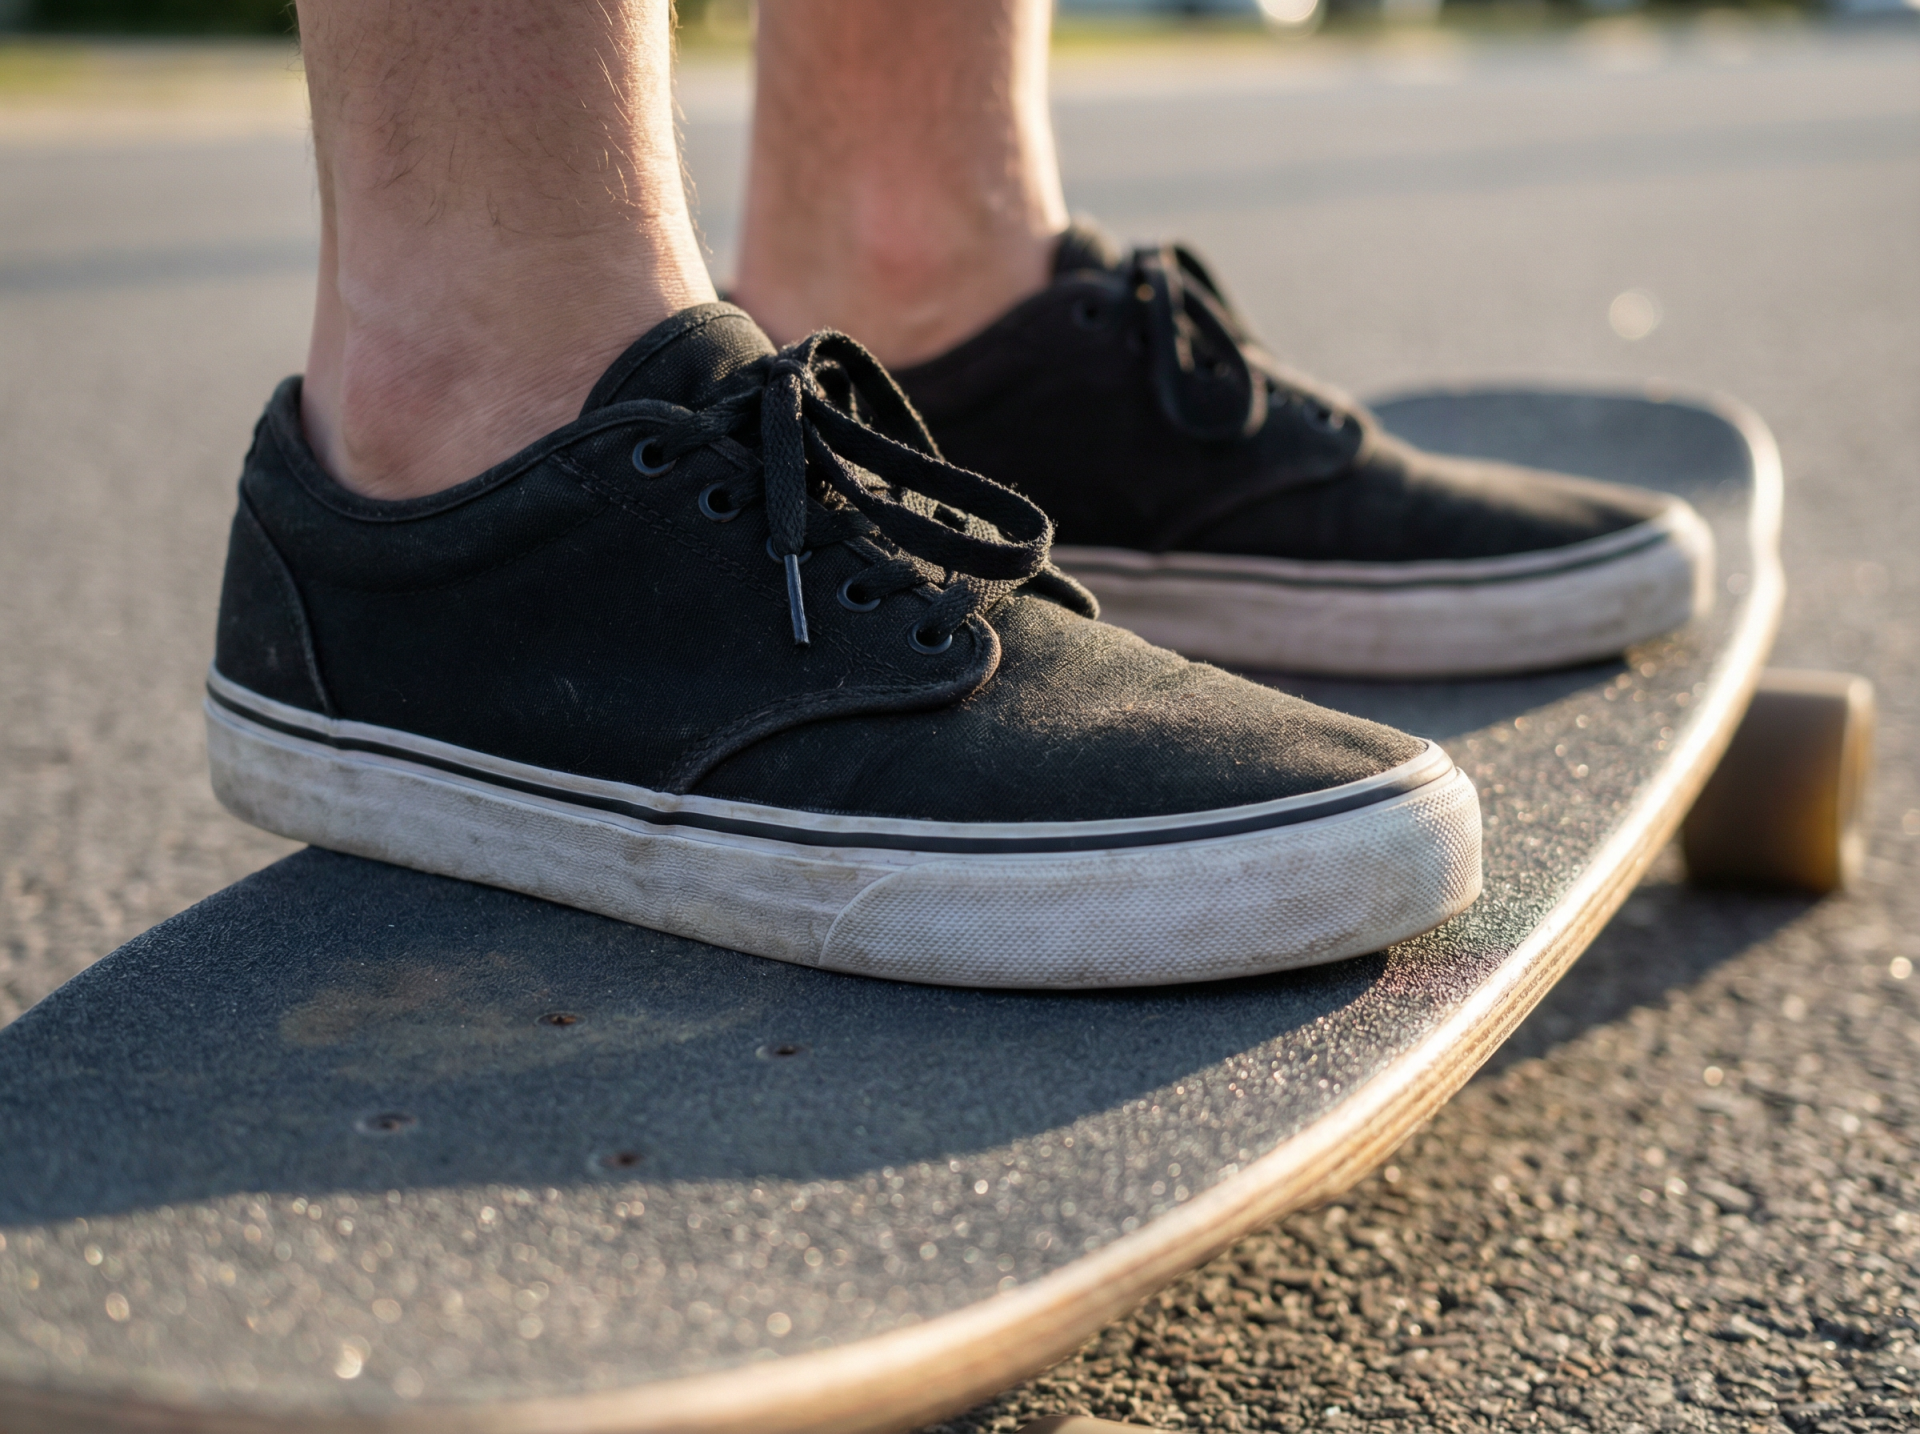
Gear 3 · Flat Shoes
Thick running shoes completely kill the sensory feedback between your feet and the grip tape. Canvas sneakers, skate shoes, or anything with a thin, flat sole lets your feet actually feel the deck’s movement, helping you build intuitive balance way faster.
It’s the smallest tweak, but it makes the biggest difference on day one.
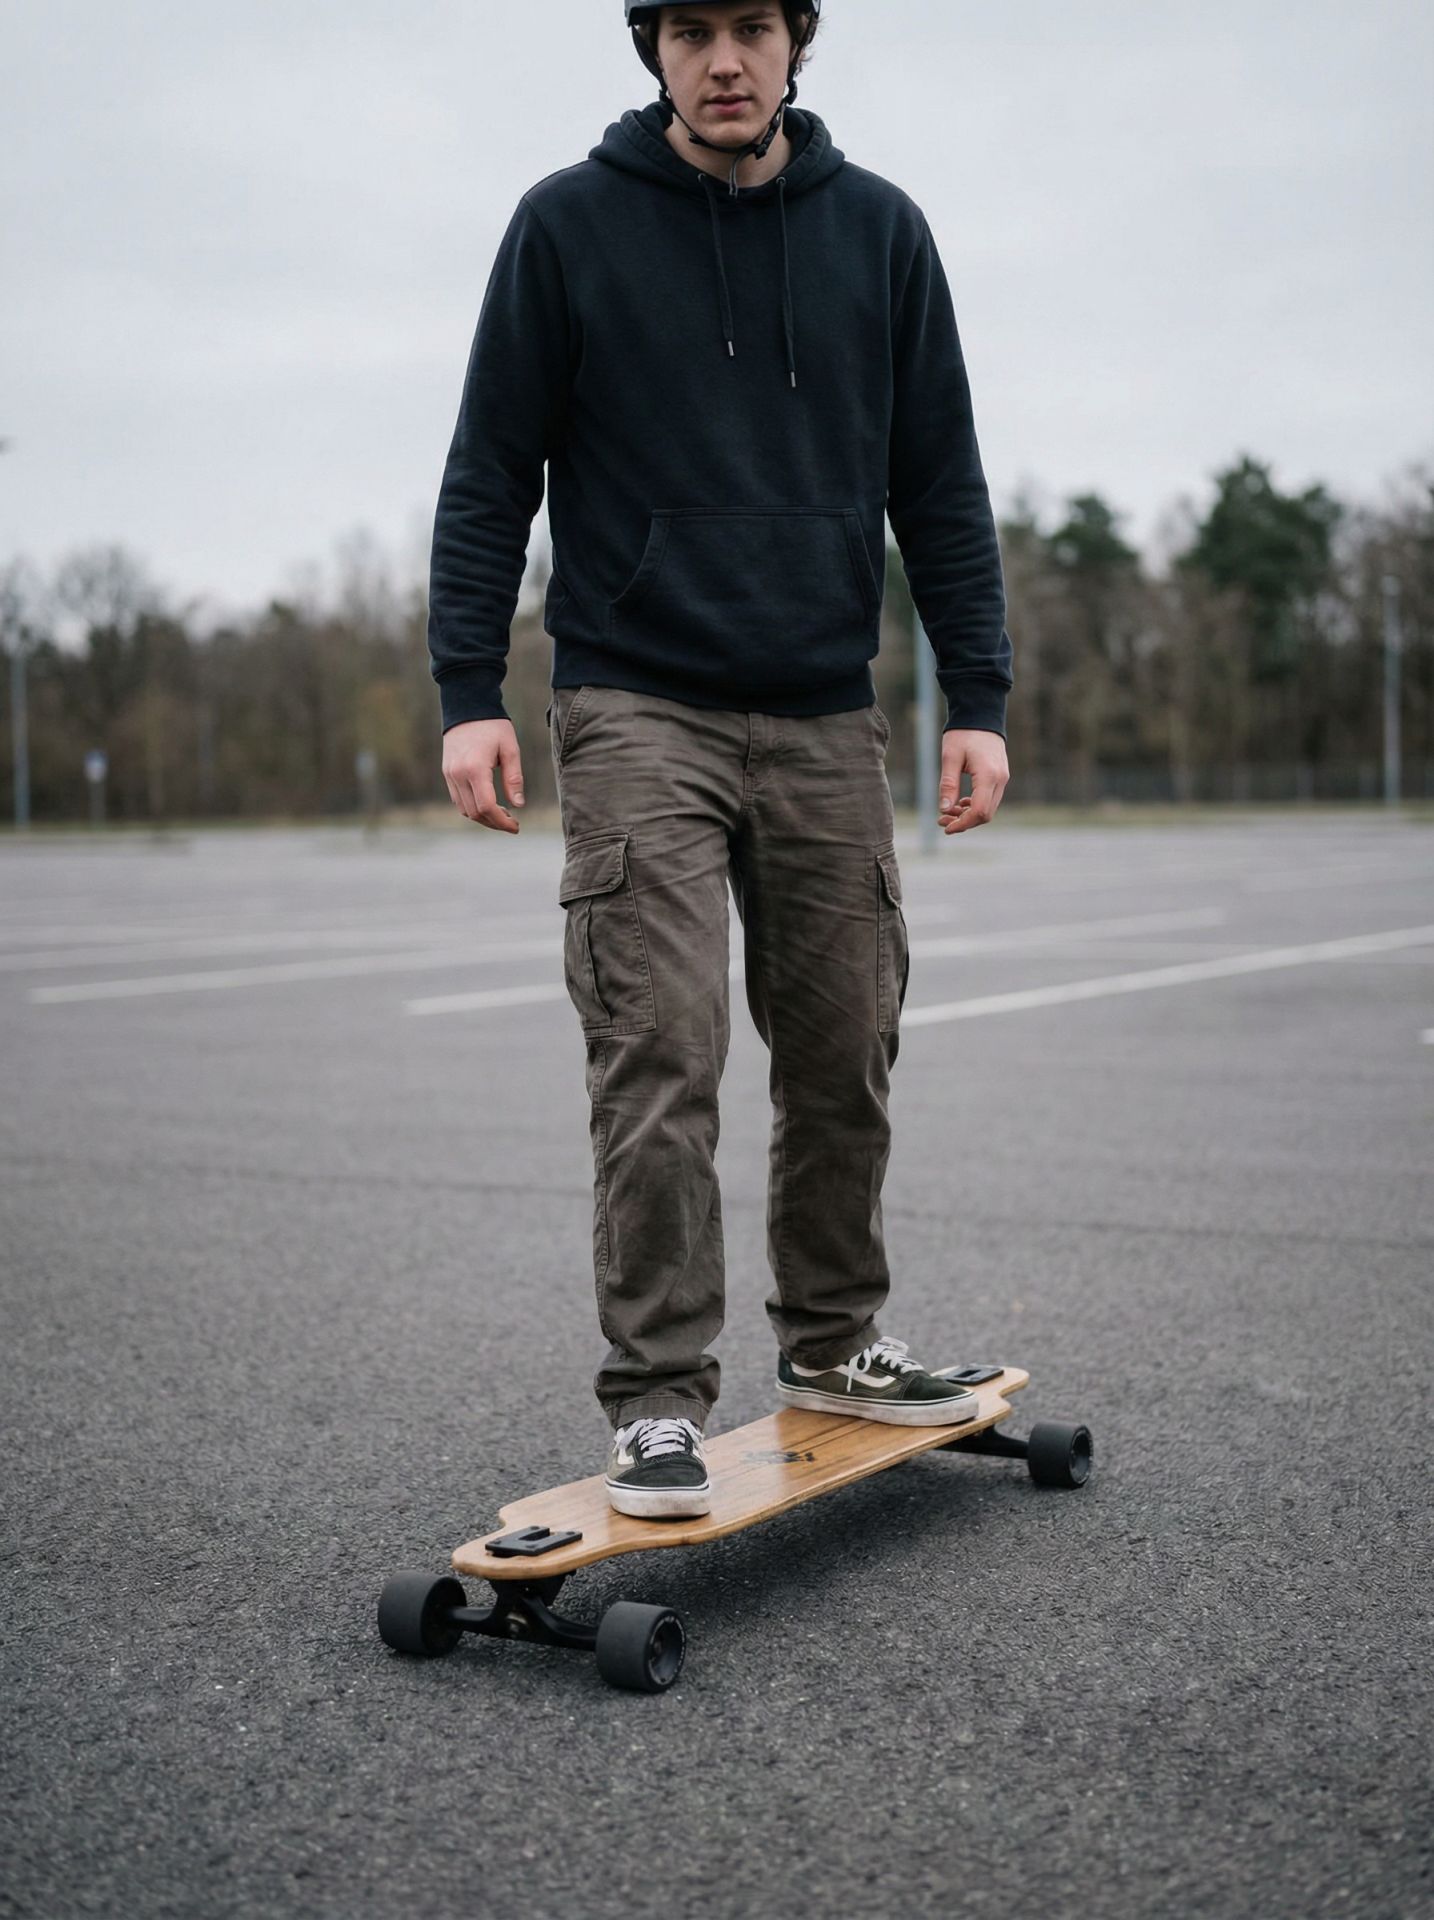
Stance — Finding Your Footing
Before you worry about how to ride a longboard, you need to figure out which foot goes in front. This isn’t a conscious choice — your body already knows the answer.
The Push Test:
Stand in your socks on a slick floor and have someone give you a gentle, unexpected push from behind. The foot you naturally stick out to catch your balance is your lead foot.
- Left foot forward = Regular stance
- Right foot forward = Goofy stance
Foot Placement:
- Front Foot: Over or slightly behind the front trucks, angled about 30–45° toward the nose.
- Back Foot: Planted across the rear trucks, roughly perpendicular to the deck.
- Knees: Keep them slightly bent at all times — your built-in shock absorption and balance system.
Tip: When you step on for the first time, just stand there and get a feel for the board’s feedback. Don’t rush to push off immediately.
Pushing & Gliding
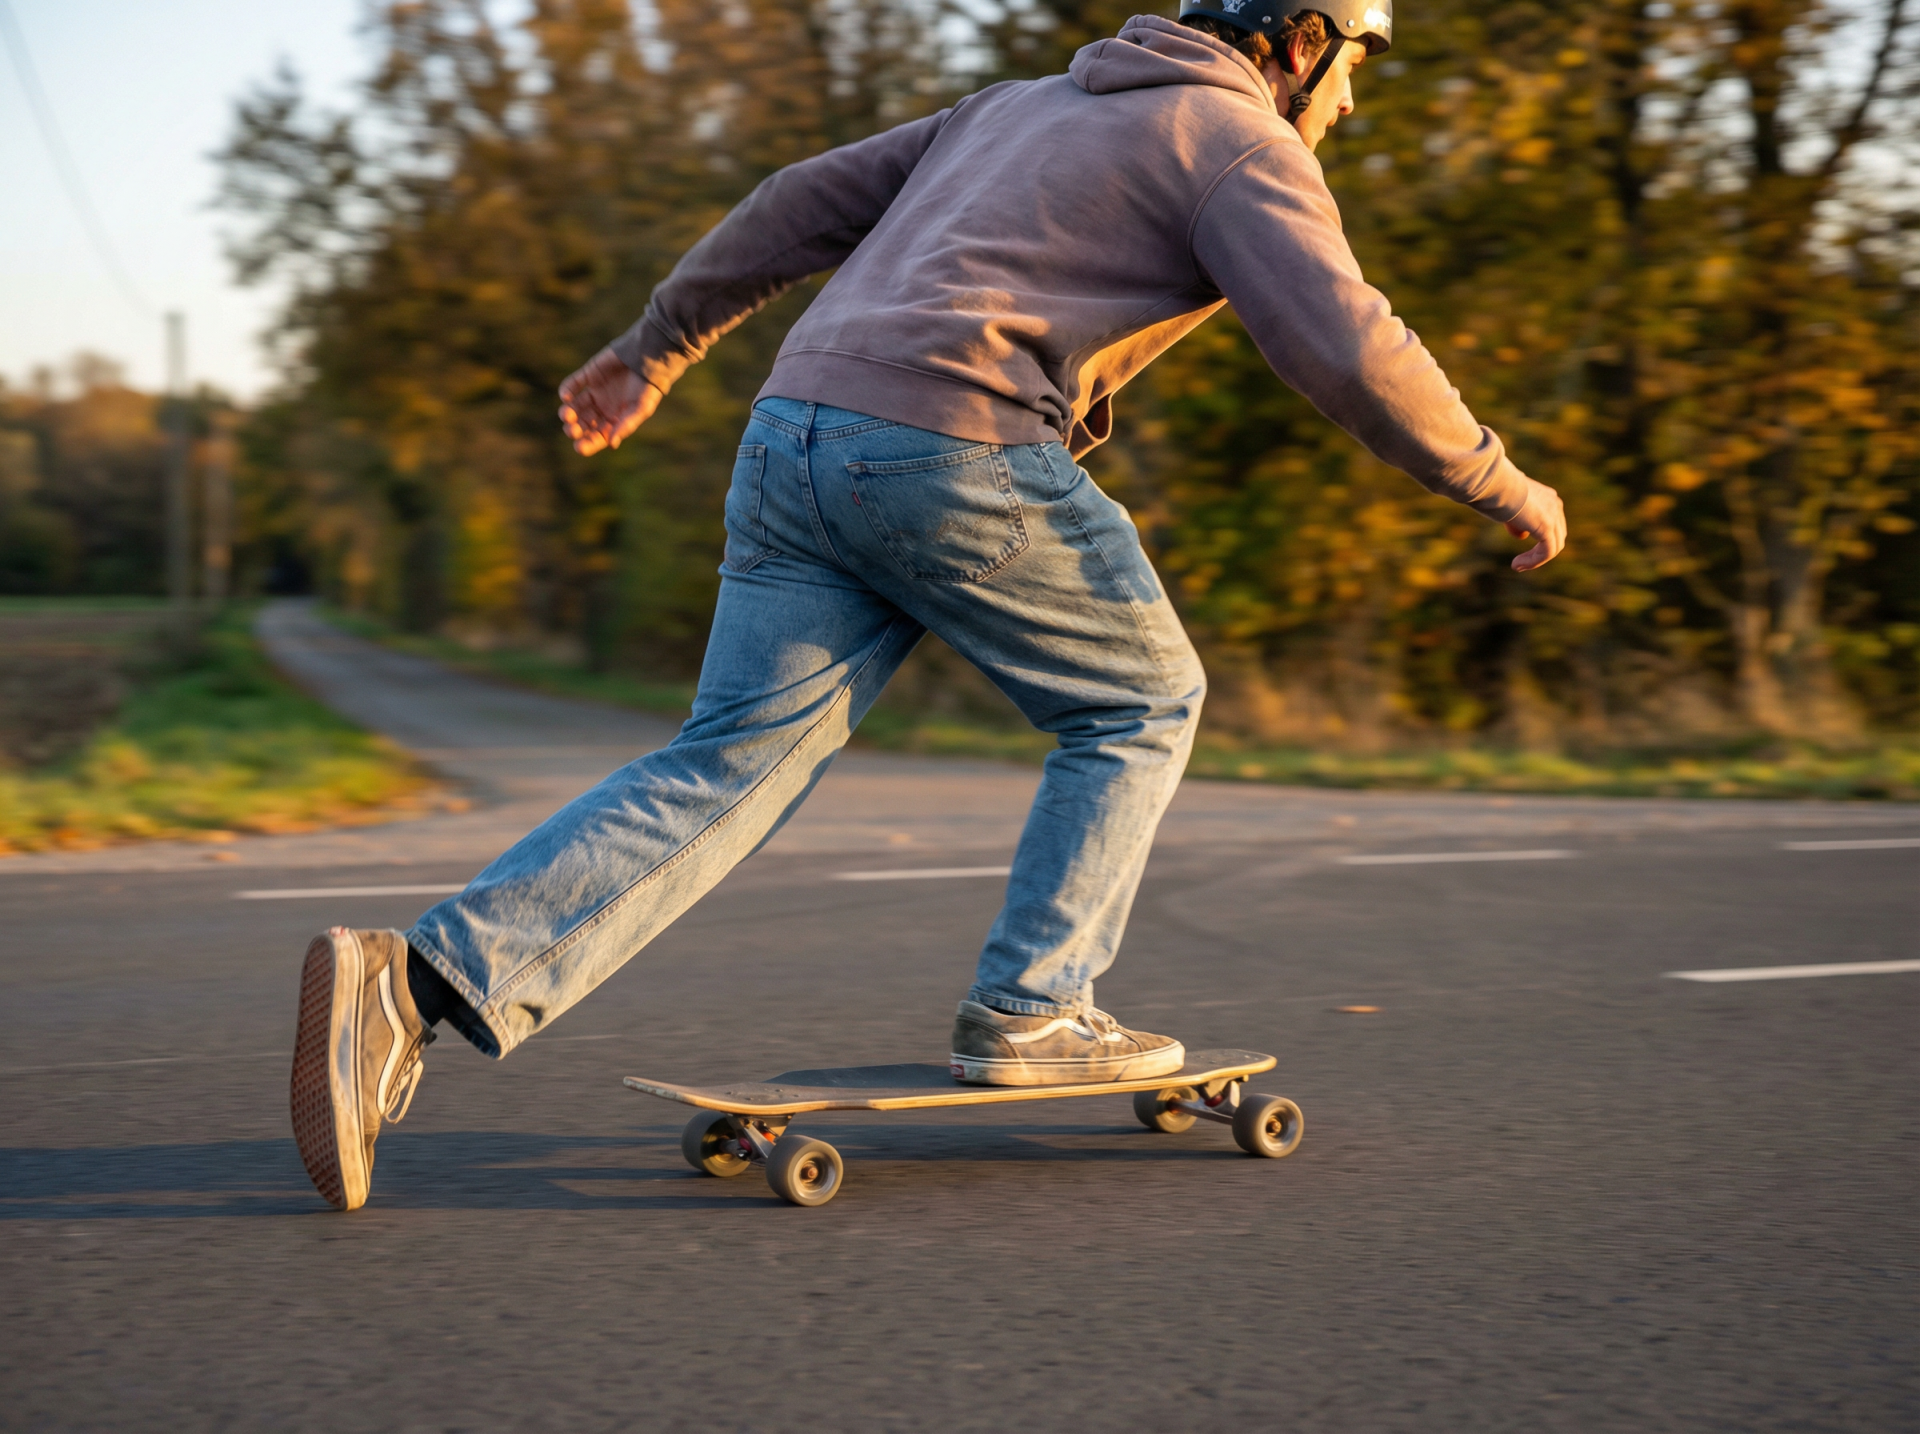
Pushing is a fluid, four-beat rhythm. Lock this in early and figuring out how to turn on a longboard will be significantly easier.
The 4-Step Push Sequence:
- Pivot your front foot so your toes point straight ahead toward the nose.
- Lower your back leg to the pavement, touching down lightly right next to the board. Don’t stomp.
- Sweep your back foot backward in a smooth arc, actively pushing the ground away behind you.
- Bring your foot back up, plant it across the rear trucks, and pivot your front foot back to its original riding angle.
Three Common Mistakes:
- Mongo Pushing: Pushing with your front foot while leaving your back foot on the board. Break this habit immediately.
- Staring at your feet: Keep your chin up and lock your eyes on a fixed point ahead of you.
- Stiff knees: Bend your knees with every single push. No exceptions.
Turning
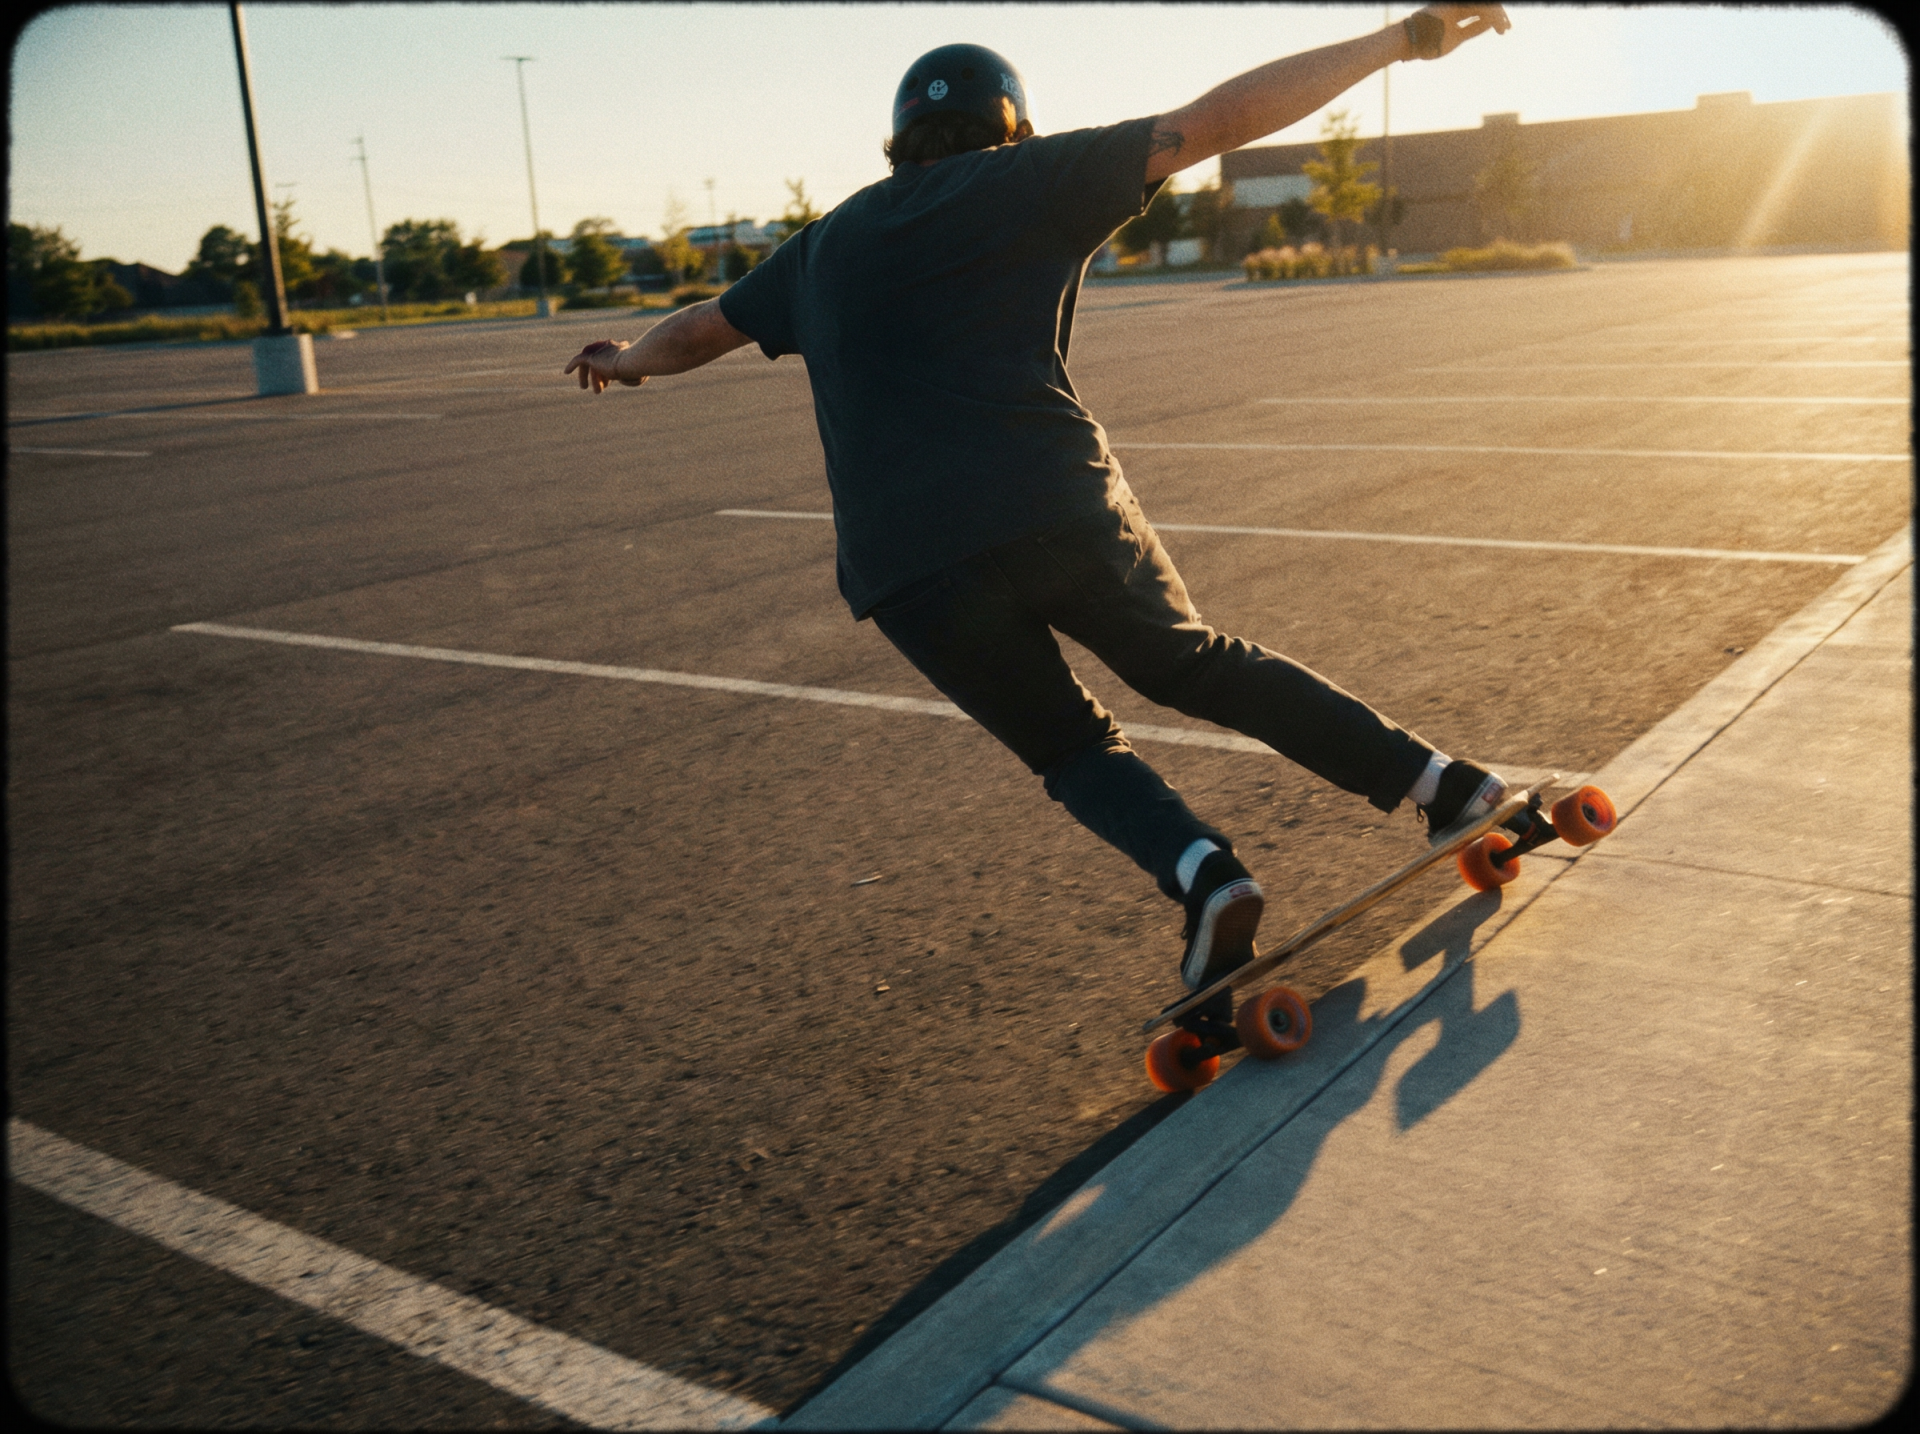
Steering isn’t about kicking or stepping. It’s entirely about weight distribution. You literally just press down.
- Toeside Turn: Press your weight into your toes and the board will arc in that direction.
- Heelside Turn: Sink your weight into your heels and the deck follows naturally.
Start at a slow, walking pace. Gently shift your center of mass, feel the setup respond, and return to center.
Three Practice Phases:
Stopping — Three Essential Methods
Figuring out how to stop on a longboard is the skill beginners most often overlook — and it’s the number one cause of wipeouts. Master these three methods in order.
Method 01 · Foot Braking
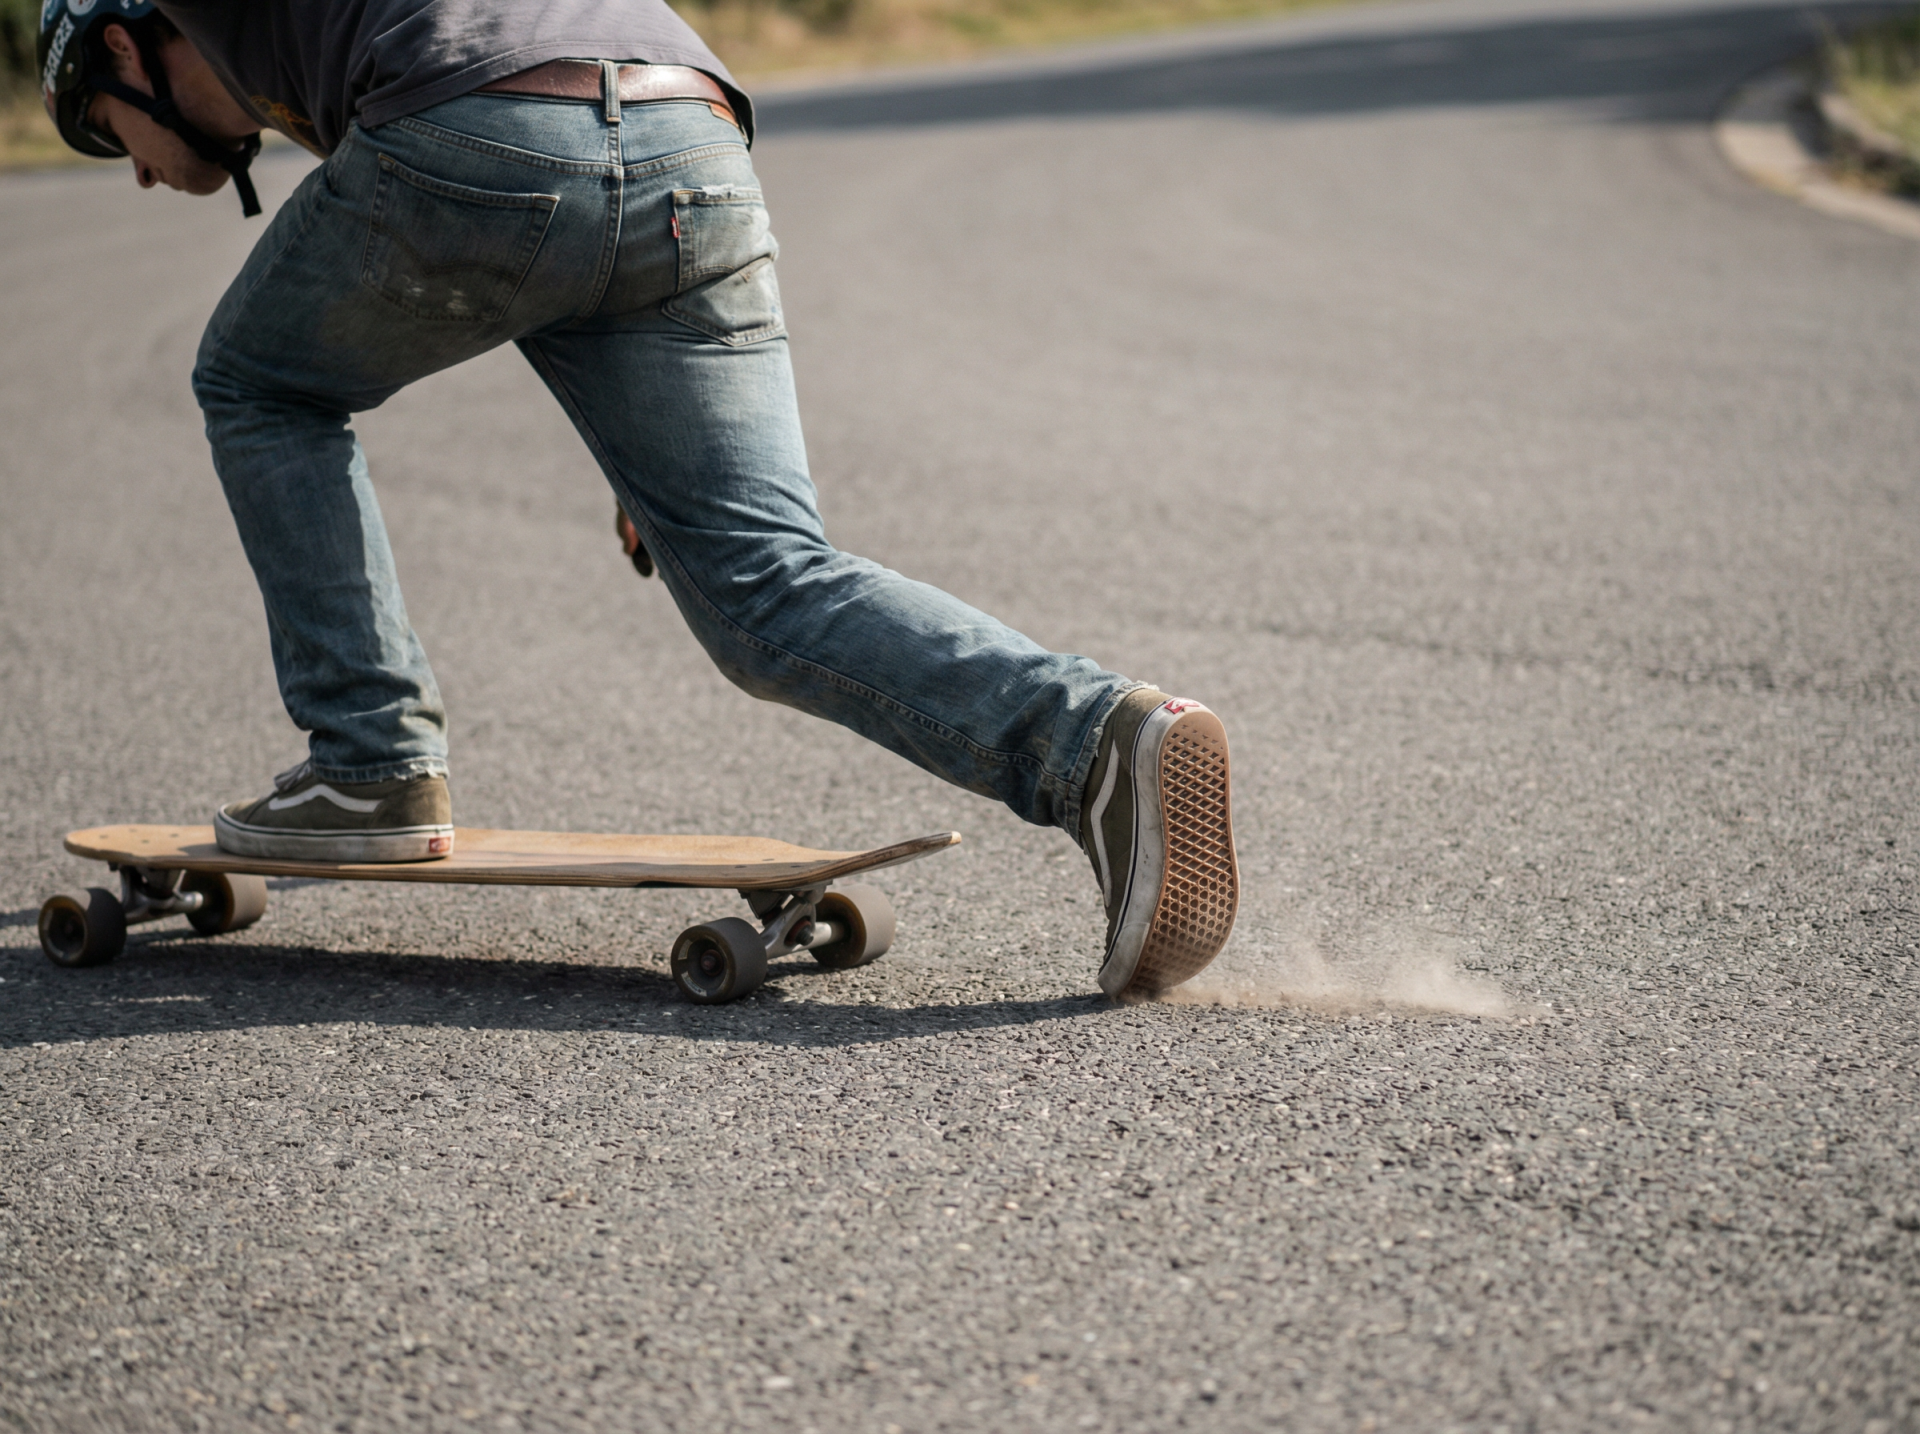
Beginner- Shift 100% of your weight to your front leg.
- Drop your back leg and let your shoe’s sole lightly skim the pavement.
- Gradually apply downward pressure to create friction and slow down smoothly.
Key: Light touch, apply pressure, smooth stop. Best for speeds up to 15 mph.
Method 02 · Carving to Scrub Speed
IntermediateExecute 3–4 quick, sharp S-turns across your path. Each aggressive turn scrubs off momentum while keeping both feet planted. This is how experienced riders control speed on how to brake on a longboard without taking their feet off.
Best for: Any situation where you have the width to carve it out.
Method 03 · The Powerslide
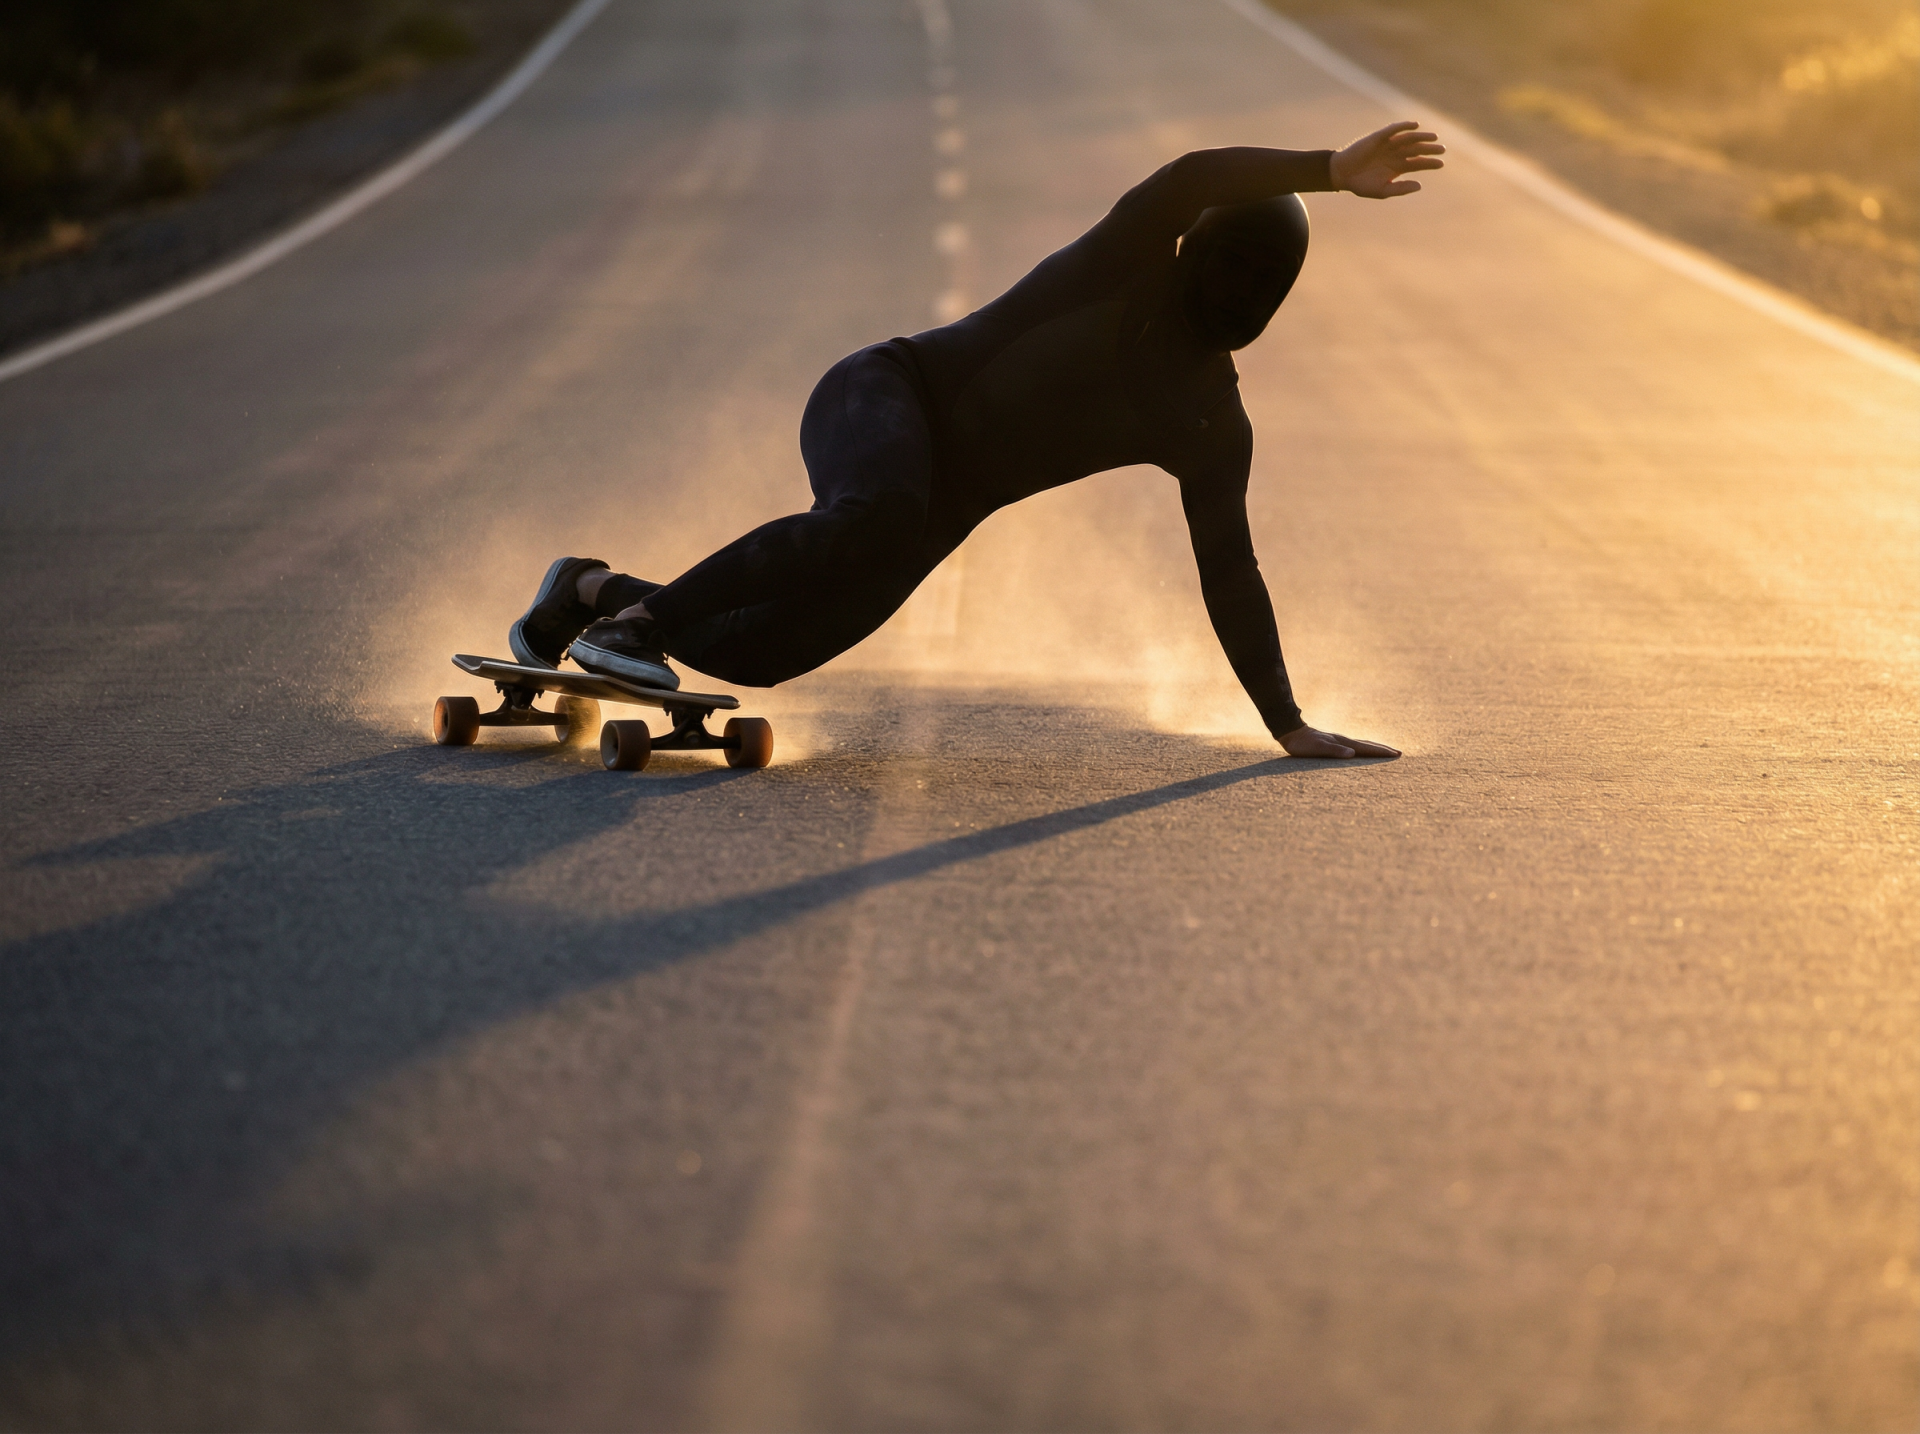
AdvancedKnowing how to powerslide on a longboard means kicking the deck out 90° perpendicular to your momentum, generating intense urethane friction to halt quickly. Highly effective at high speeds, but requires a rock-solid carving foundation. Do not attempt this until you’ve fully mastered the first two methods.
Carving
Understanding how to carve on a longboard is the exact moment your setup stops being basic transportation and starts feeling like surfing on concrete.
The Progression Path:
Turning → Linking mellow S-turns at low speeds.
Wide Carves → Picking up speed, leaning deeper, extending the arc.
Tight Carves → Pressing your edges harder and earlier to snap tight, aggressive lines.
Pumping → Generating forward momentum through continuous, rhythmic carving — no pushing needed.
Body Mechanics for Clean Lines:
- Drop your center of gravity — bend your knees way deeper than you think you need to.
- Lead with your shoulders, letting your hips and feet follow the rotation.
- Look exactly where you want to go, not down at the wood.
- Keep your arms loose and open — this maintains equilibrium, not just for show.
Next-Level Longboard Tricks for Beginners
Once braking, turning, and carving become pure muscle memory, these four skills will open up an entirely new dimension of riding.
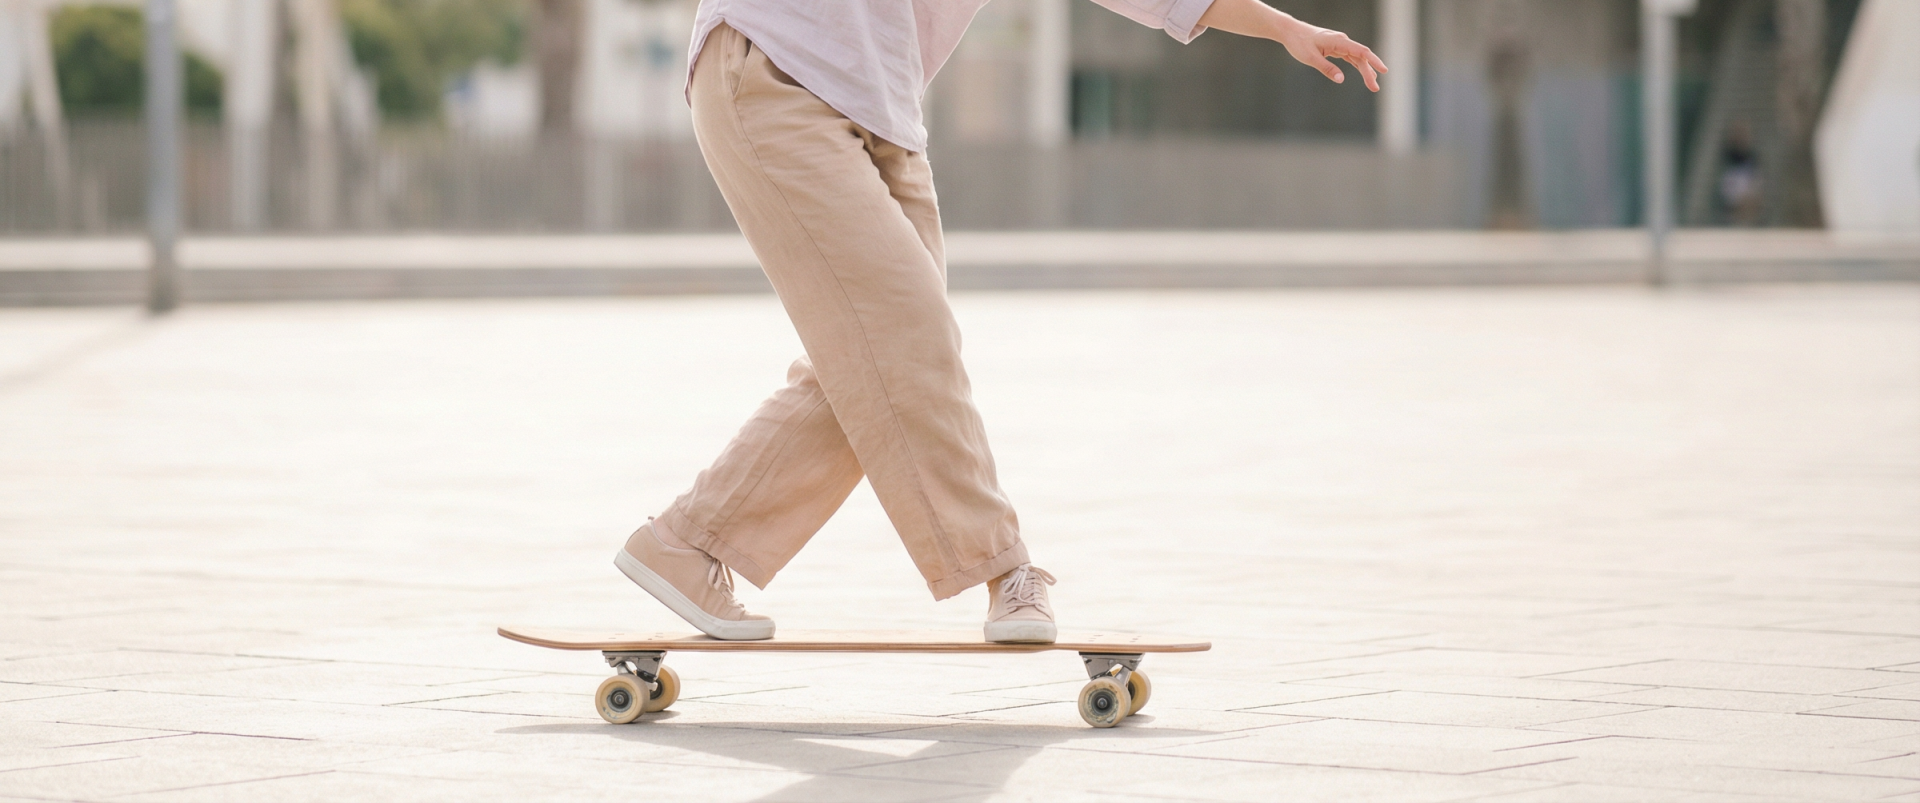
Cross-Step
Difficulty: ⭐⭐Prerequisite: Solid balance while cruising at low-to-medium speeds.
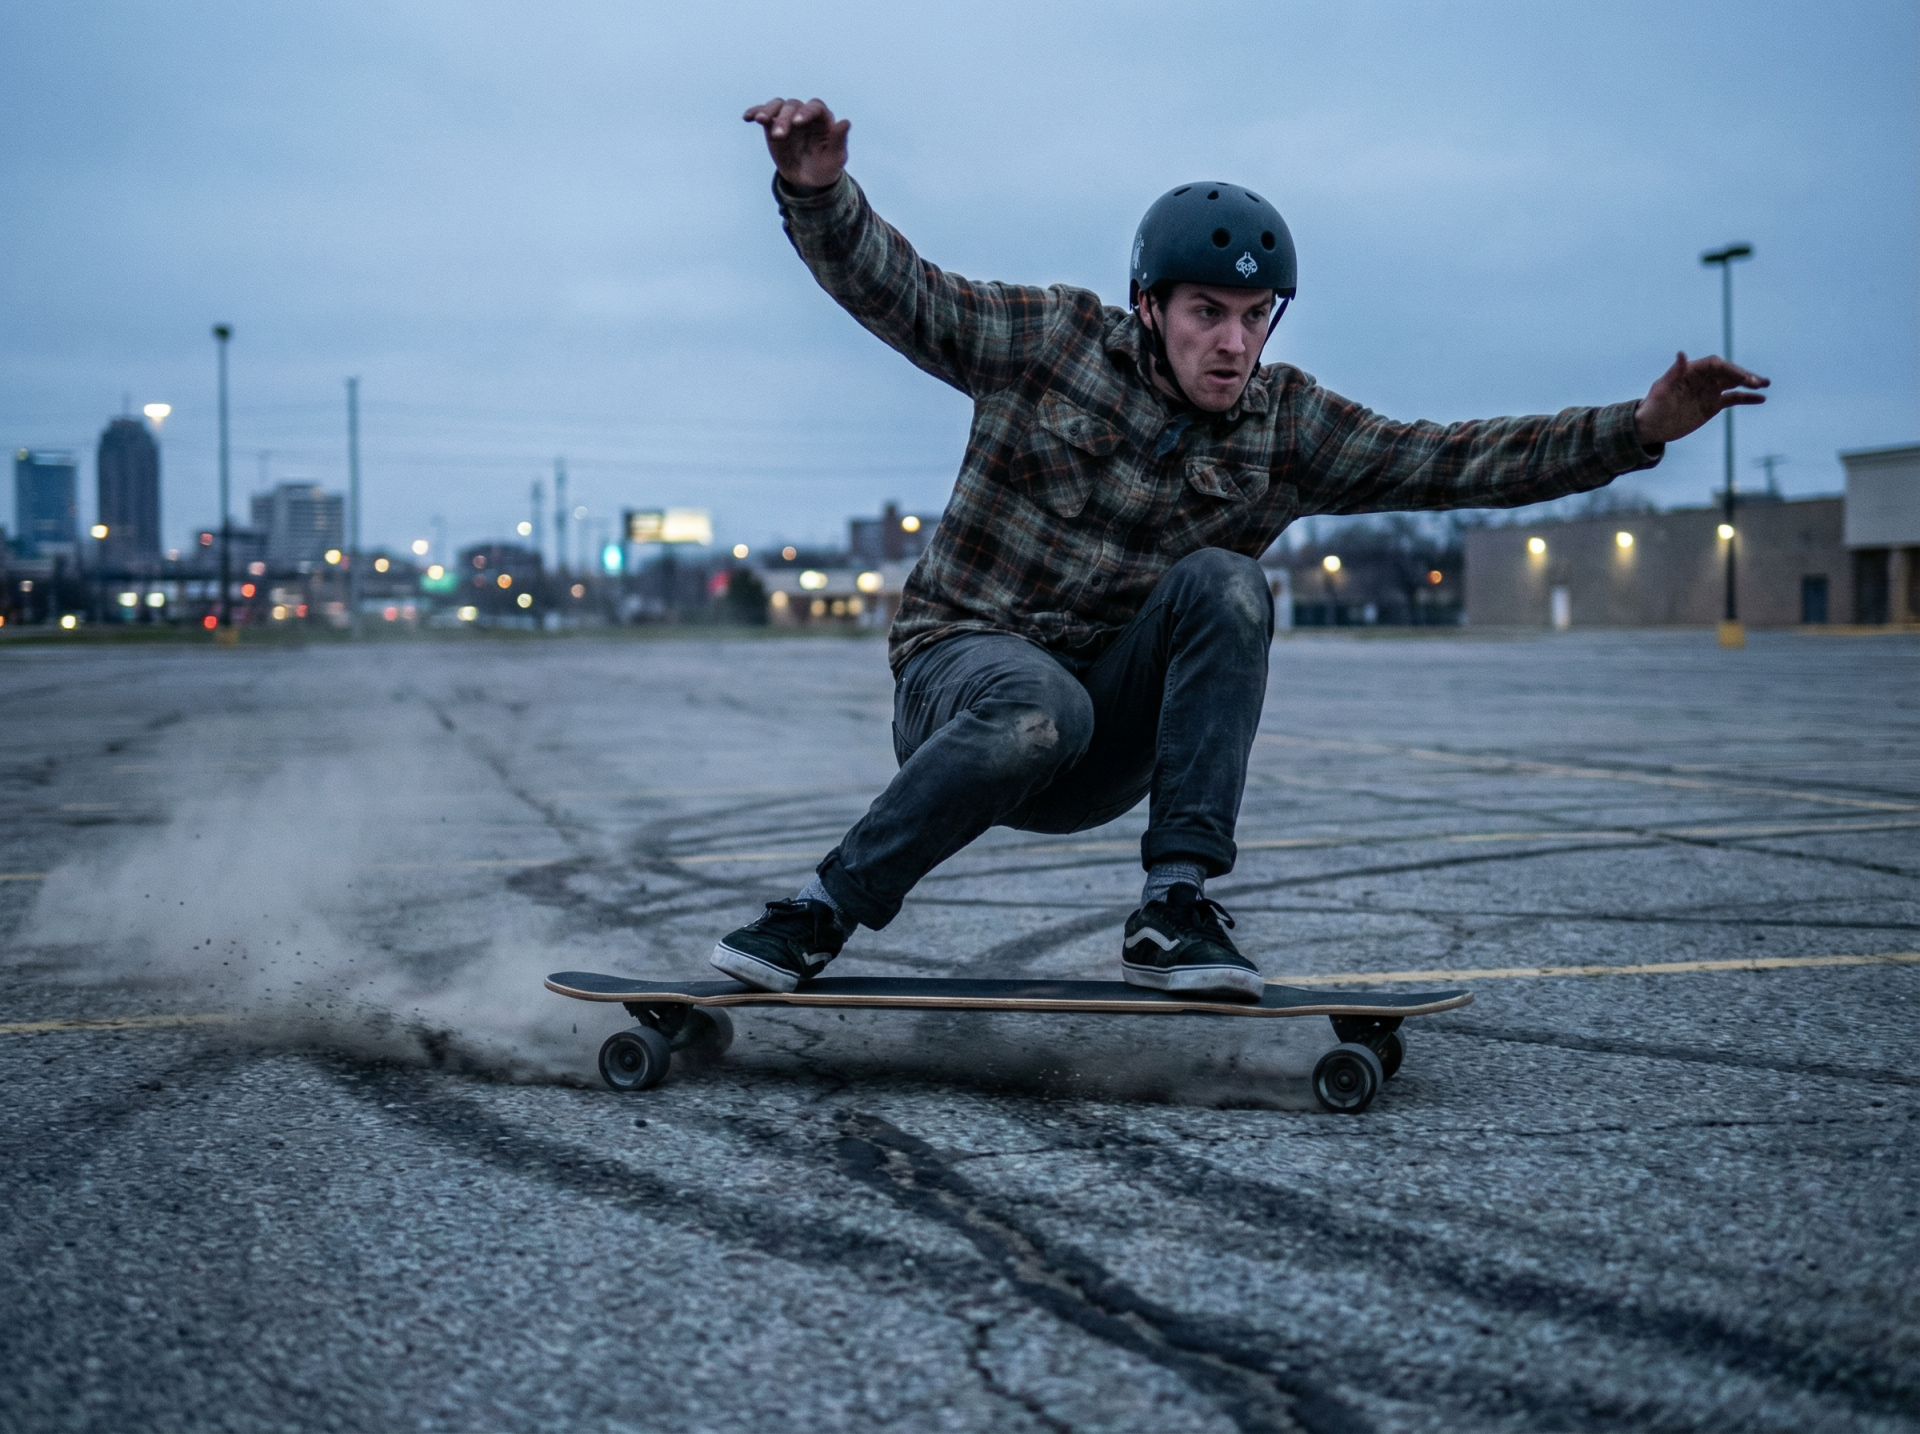
Powerslide
Difficulty: ⭐⭐⭐Prerequisite: Deep carving mechanics dialed in, comfortable with moderate speed.
Nose Manual
Difficulty: ⭐⭐Prerequisite: Precise foot placement and confident weight shifting.
Coleman Slide
Difficulty: ⭐⭐⭐Prerequisite: Basic powerslide understood; slide gloves are absolutely mandatory.
Learn to Longboard: Your 2-Week Action Plan
Committing to just 20 minutes a day for two weeks is enough to feel completely at home on the deck. Mastering the longboard basics takes patience — skipping steps or rushing only slows down your actual progress.
Week 1 — Laying the Foundation
| Day | Focus | Daily Goal |
|---|---|---|
| Day 1 | Stance & Static Balance | Stand still on the deck for 5 minutes. Find your center and nail down comfortable foot placement. |
| Day 2 | Pushing & Straight Lines | Complete 20 consecutive pushes. Keep a straight line and your eyes off your feet. |
| Day 3 | Foot Braking | Stop smoothly from a rolling speed 10 times. Focus on avoiding jerky movements. |
| Day 4 | Active Recovery | Just roll. Don’t stress about specific drills — just feel the natural glide. |
| Day 5 | Gentle Turns | Practice S-curves — 10 smooth turns in both directions. |
| Day 6 | Connecting the Dots | Push → Glide → Turn → Brake in one continuous, fluid sequence. |
| Day 7 | Free Riding | Ride freely. Take mental notes on what feels natural and what still feels stiff. |
Week 2 — Building Real Confidence
| Day | Focus | Daily Goal |
|---|---|---|
| Day 8 | Speed & Steering | Pick up a little more pace before turning. Feel how the board responds under momentum. |
| Day 9 | Intro to Carving | Deepen your lean, stretch out your arcs, and feel the deck actively carve. |
| Day 10 | Carving to Slow Down | Scrub off speed using deep, consecutive carves instead of dragging your back foot. |
| Day 11 | Mellow Inclines | Find a very slight, safe slope. Practice controlling your speed with gravity. |
| Day 12 | Carve + Brake Combo | Execute a deep carve, then smoothly transition directly into a foot brake halt. |
| Day 13 | Real-World Commuting | Ride an actual route to a physical destination using your new muscle memory. |
| Day 14 | Self-Audit | What still feels sketchy? That becomes your specific focus for week three. |
Frequently Asked Questions
How long does it actually take to learn how to longboard?
Is learning to longboard easier than starting on a street skateboard?
Do I have to learn on completely flat ground?
What’s the real difference between turning and carving on a longboard?
How do I stop a longboard when going really fast?
Related Articles
→ How to Ride a Longboard for Beginners (Start Here)
→ Longboard Trainer: How to Improve Your Skating Skills
→ Longboard Map Tools: How to Find the Best Practice Routes
→ Longboarding in the Rain: Strategies & Gear Guide
About the Author

Jordan Ellis
Founder of Groveride · Former urban transportation analyst, Portland OR · Longboard rider since 2019 · Spent 5 years studying how people move through cities before building the board-buying guide that should have existed.
Read Jordan’s full story →