
Most riders approach learning to ride a longboard with the wrong question. They ask, “How long will it take?” The right question is, “What are the four things I actually need, and in what order?”
This is that guide. No hall-of-fame tricks, no gear lists for pros. Just what gets you from standing on the board to riding your first real stretch of pavement — and what to do when it doesn’t feel right.
If you haven’t picked a board yet, go read our beginner longboard guide first. Board choice affects everything here.
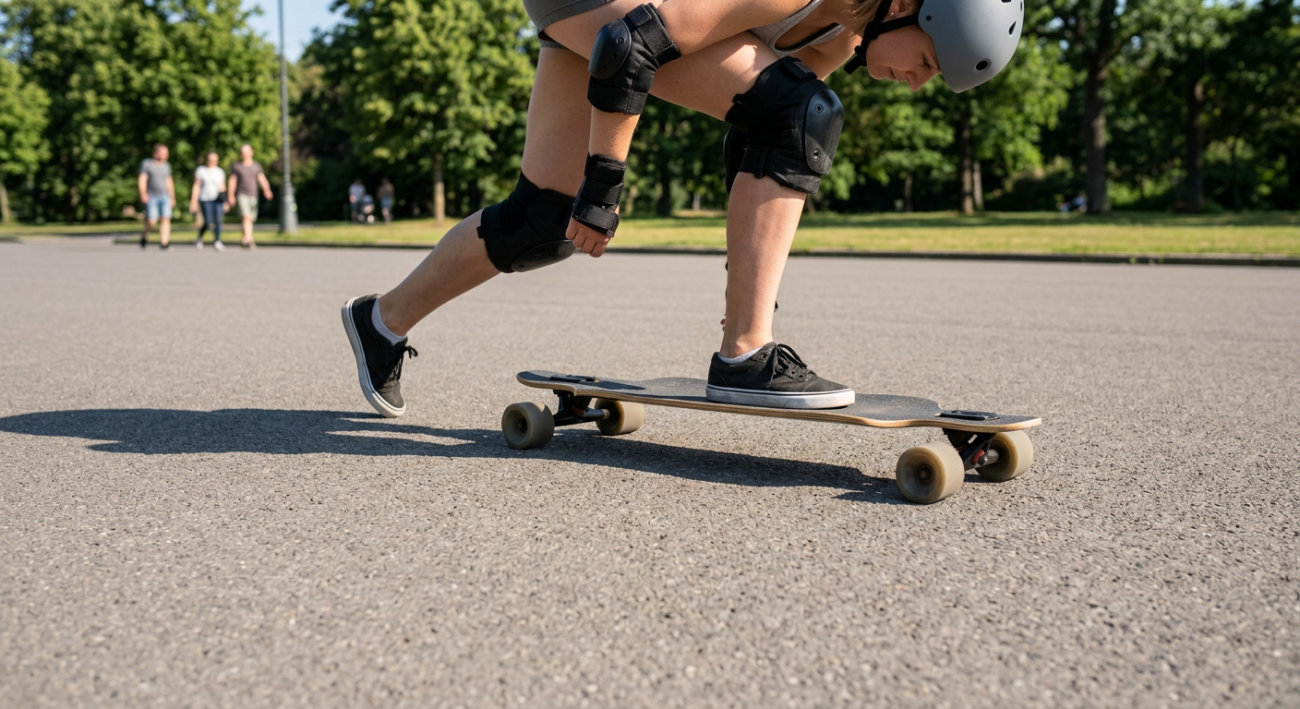
Before You Roll: One Decision That Changes Everything
Before you push, before you turn—figure out your stance.
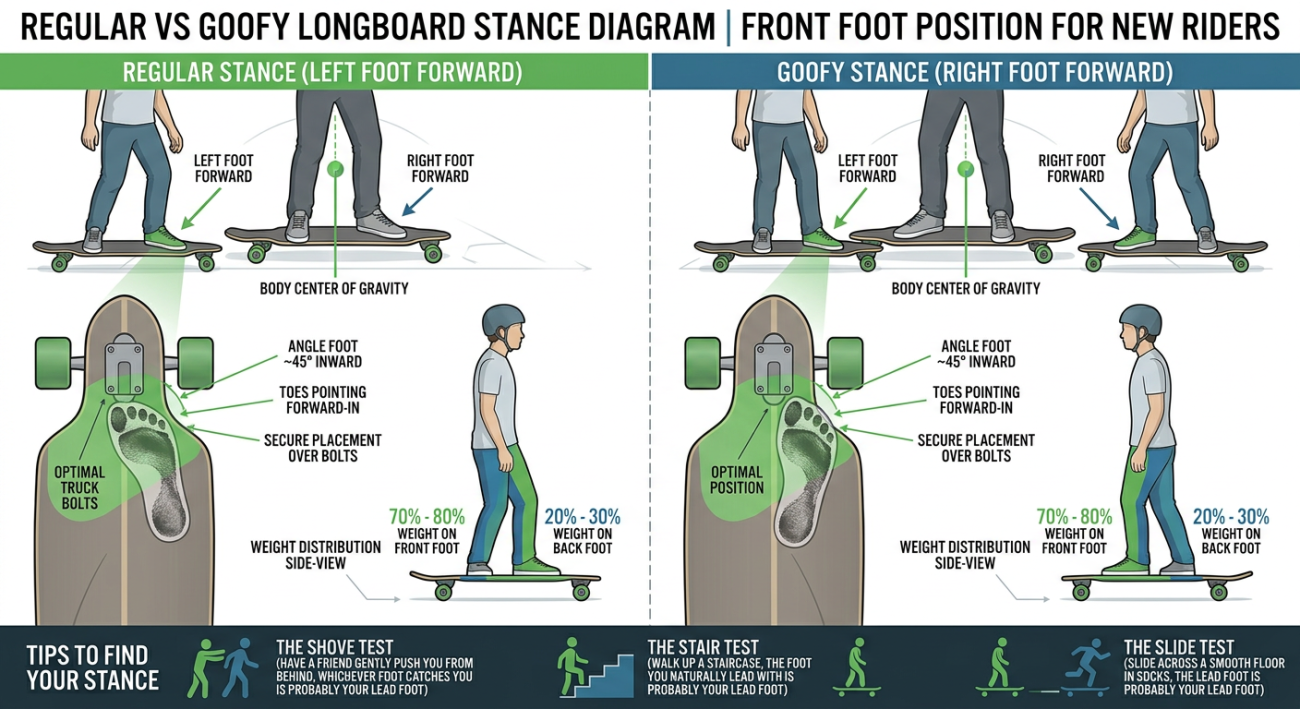
You ride either regular (left foot forward) or goofy (right foot forward). Neither is better. It’s just which one your body already knows best.
The fastest way to find out: stand on flat ground and have someone push you lightly from behind. Whichever foot you step forward with to catch yourself—that’s your front foot.
Don’t overthink it. A buyer asked us once: “What if both feel equally wrong?” Honestly, that’s normal for the first ten minutes. One of them will start feeling slightly less wrong, and that’s your answer. Stance locks in faster than people expect — usually within a single session.
Where to Practice — and Why This Matters More Than Technique
Here’s what nobody tells you: the surface you choose matters more than anything you do with your feet.
Start somewhere flat, smooth, and away from cars. An empty parking lot is ideal—not because it’s glamorous, but because it gives you the one thing beginners need most: room to stop badly.
Avoid: rough asphalt, brick paths, grass, and anywhere with a slope until you can push and stop reliably.
Once you can cruise a parking lot without thinking about your feet, you’re ready for the campus path or the sidewalk stretch you actually want to ride. That transition usually takes three to five sessions, not three to five weeks.
The Four Skills You Need, In Order
Don’t skip ahead. Each one builds on the last.
Skill 1 — Standing and Balancing
Place the board on carpet or grass so it won’t roll. Step on with your front foot over the front trucks and your back foot near the tail. Feet roughly shoulder-width apart, knees slightly bent.
Shift your weight forward and back. Side to side. Get comfortable with the board moving under you before it’s also moving forward.
This feels awkward for about twenty minutes, then it stops feeling awkward. That’s the whole skill.
Skill 2 — Pushing
On flat ground: front foot on the board pointing forward, back foot on the ground. Push off with your back foot—one push, then bring both feet onto the deck and find your balance.
Roll until you slow down. Step off. Do it again.
The thing most people get wrong here: they push too hard, then panic at the speed. Start with a gentle push. You can always go faster. You can’t un-panic.
Skill 3 — Turning (Carving)
Once you can roll in a straight line without tensing up, it’s time to steer.
Turning on a longboard is weight, not feet. Lean your body toward the direction you want to go—toes forward to turn one way, heels back to turn the other. The board follows your weight.
Keep your knees bent. The lower you are, the easier it is to feel the board respond.
If you’re on a drop-through setup, the first turn will feel more planted than you expect—the lower center of gravity means the board leans with you rather than tipping under you. It reads as stability, not sluggishness. Start with wide, slow arcs and let that feeling settle in before you tighten the turns.
Skill 4 — Stopping
Foot braking is the only stop you need to learn first.
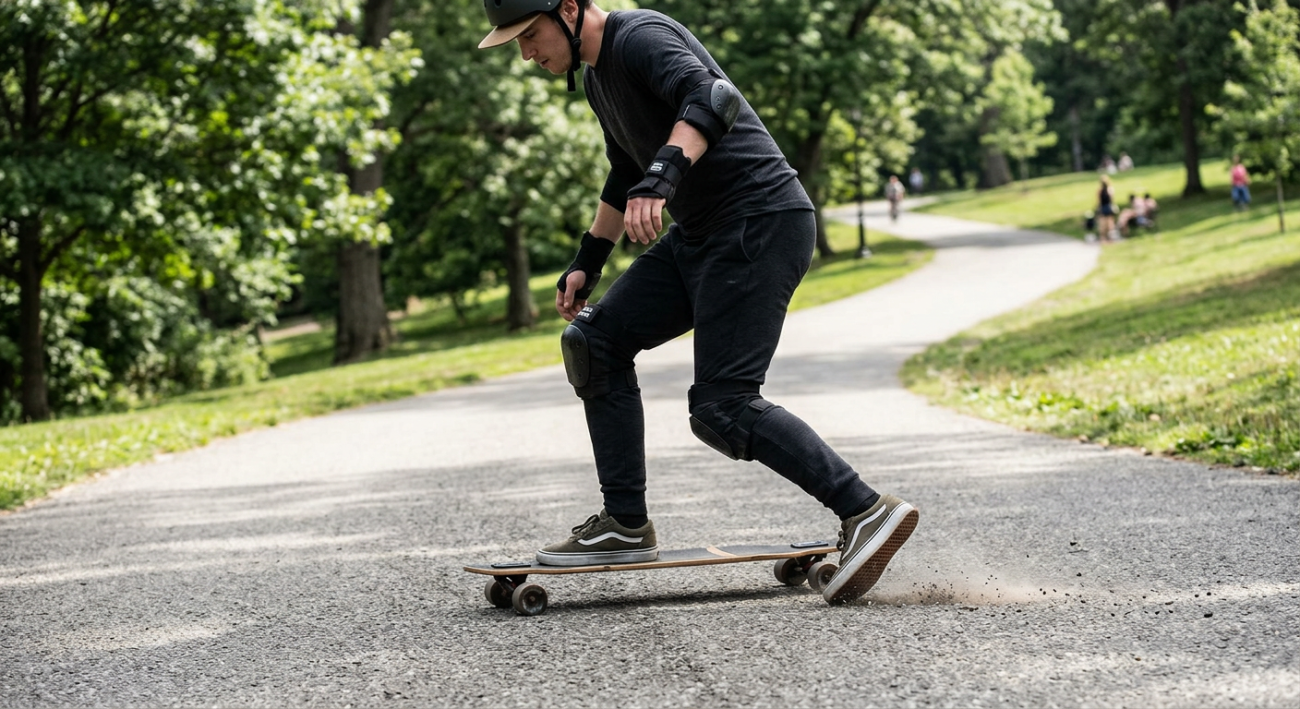
Shift your weight to your front foot, lower your back foot to the ground, and let it drag lightly. More pressure = faster stop. Don’t stomp — you’ll throw yourself off balance.
Practice this before you need it. Find a gentle slope, roll down slowly, and brake at the bottom. Do it ten times until it’s boring.
Honestly, most beginners skip this step because stopping feels less exciting than riding. We’ve had buyers message us after a fall saying, “I just didn’t brake in time”—and when we asked if they’d practiced foot braking before their first street ride, the answer was almost always no. A rider messaged us after scraping her knee on a parking lot slope: “I wasn’t going fast; I just never did any braking.” The board wasn’t the issue. She hadn’t practiced the boring part yet. Learn it first.
What to Expect in Your First Week
Day 1–2: You’ll feel unstable. Your ankles will be tired. This is normal—you’re using muscles you don’t use walking.
Day 3–4: Pushing starts to feel automatic. You stop thinking about where your feet are.
Day 5–7: Your first real stretch. You’ll cruise a longer distance without stopping to adjust, and it’ll feel like something clicked.
Most riders outgrow the parking lot by the end of week one. When you do, a board that handles varied surfaces becomes noticeably more useful. Browse our full longboard range to find what fits your next stage.
One Thing Most Guides Don’t Tell You
You’re going to fall. Not might — will.
The first fall usually happens when you hit a crack or a small rock you didn’t see. It’s fast and it catches you off guard. My first real fall wasn’t a beginner wobble—it was on the path near Hawthorne Bridge; speed built up faster than I expected, there was a crack in the pavement, and I went sideways. The left wrist and right knee both hit at once. I sat there for about a minute — not because anything was broken, but because I needed to figure out if anything was broken.
After that fall, the first thing I thought about wasn’t the pain. It was the crack: where exactly it was, how wide, and whether I could add a “surface hazard” section to the riding guide. That kind of attention to the ground — it develops. But it only develops after you’ve had the ground remind you it’s there.
This isn’t a reason to wear full pads forever (though wrist guards are genuinely useful in the first two weeks — your hands will instinctively catch you). It’s a reason to accept that falling is part of learning to read the ground. That awareness is the real skill — not any specific technique.
Frequently Asked Questions
How long does it take to learn to ride a longboard?
Do I need to wear a helmet?
Can I learn on my own, or do I need someone to teach me?
What’s the easiest longboard to learn on?
About the Author

Jordan Ellis
Founder of Groveride · Former urban transportation analyst, Portland OR · Longboard rider since 2019 · Content is based on direct board testing on Portland city streets, real rider questions, and hands-on product evaluation. Last reviewed: March 2026.
Read Jordan’s full story →