
Grip tape is the part of your longboard most people stop thinking about the moment they unbox the board. It’s already there. It works. End of story — until it doesn’t.
Worn grip tape is one of the most common reasons experienced riders lose confidence on a board they’ve been riding for months. The board hasn’t changed. The wheels are fine. But the surface their feet are trusting has quietly stopped doing its job.
Here’s what grip tape actually does, how to tell when it needs replacing, and how to apply a new sheet without the bubbles and lifting edges that plague most first attempts.
What Grip Tape Actually Does (and Why It’s Not Obvious)
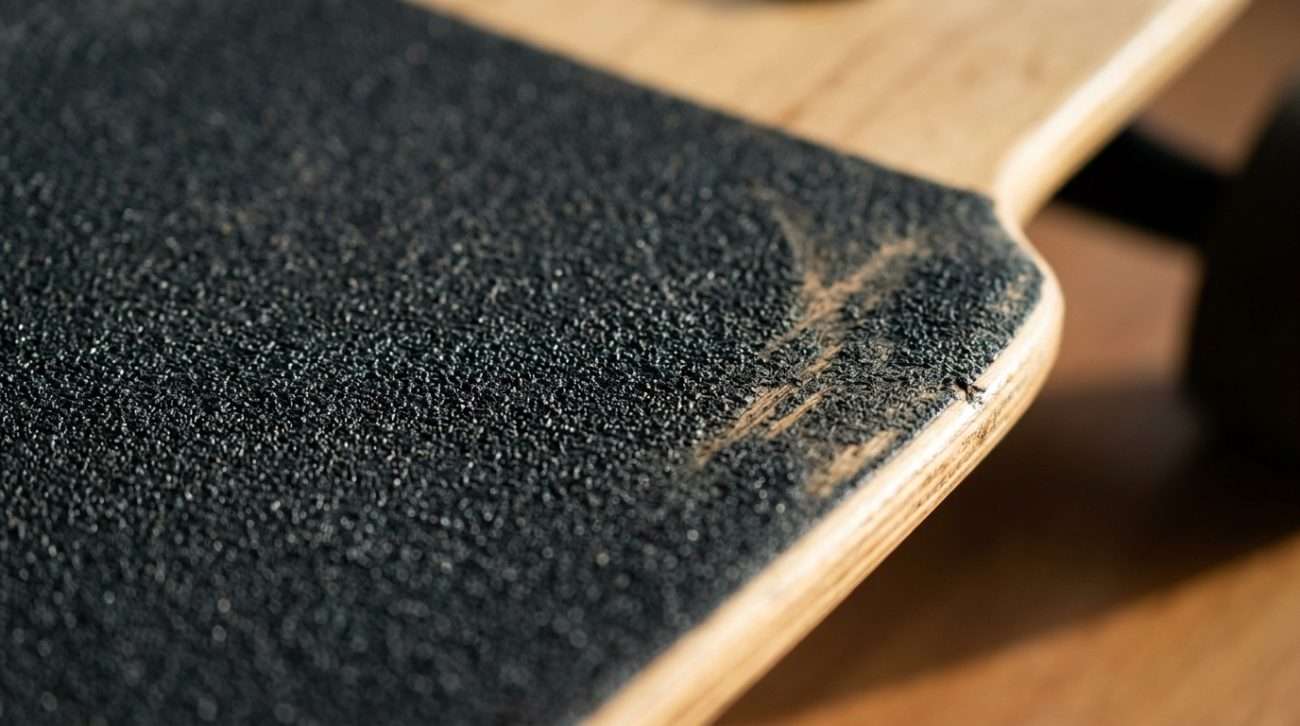
Grip tape is silicon carbide grit bonded to a peel-and-stick backing. The grit creates friction between your shoes and the deck. That friction is what lets you shift your weight, initiate a carve, push off cleanly, and land with your foot where you intended it to be.
On a new board, this all happens without you noticing. That’s the point. You notice grip tape when it stops working — when your front foot slides slightly on a hard push, or your back heel slips during a sharp turn.
Most riders on complete boards never look closely at the grip tape surface before buying. That’s usually fine — brands include tape that matches the board’s intended use. But if you’re evaluating a used board, or a board that’s been sitting in a shop for a long time, checking the grip tape surface is one of the first things worth doing. Dull, glazed-looking grit is a sign it’s been ridden hard or stored badly. Fresh grip tape has a consistent texture across the whole surface, with no shiny patches.
When to Replace Your Longboard Grip Tape
There’s no fixed timeline. What you’re watching for are these signs:
▹ Shiny or smooth patches — especially under the heel and toe where your feet sit most. The grit has been worn flat and is no longer gripping shoe rubber effectively.
▹ Peeling or lifting edges — usually starts at the nose and tail. Once an edge lifts, water and dirt get underneath and the adhesive continues to fail.
▹ Visible dirt saturation — grip tape that’s been ridden in wet or dusty conditions absorbs grime into the grit. It looks dark and matte but has lost most of its friction. You can try cleaning it (a stiff brush and warm water helps), but heavily saturated tape rarely recovers fully.
▹ Your foot position feels less certain — this is the most honest signal. If you’re second-guessing where your feet are during a push or a turn in a way you weren’t six months ago, the grip tape is the first place to check.
Replacing grip tape runs $8–$18 for a standard sheet. It’s one of the lowest-cost maintenance tasks on a longboard, and it has a disproportionate effect on how the board feels day to day.

How to Apply Longboard Grip Tape: Step by Step
This takes about 15 minutes. The two things that cause most problems are starting from the wrong edge and pressing too fast.
What you need: ▹ New grip tape sheet (one standard sheet covers most longboards up to 44″; measure first if you’re on a longer deck) ▹ A screwdriver or ballpoint pen ▹ A craft knife or box cutter ▹ A file or spare piece of grip tape for edge finishing
01 · Remove the old tape
Use a hair dryer on low heat along the edges for 20–30 seconds. The adhesive softens and the tape peels off in larger sections rather than tearing into frustrating strips. Work slowly from one end. If any adhesive residue remains on the deck, a small amount of rubbing alcohol on a cloth removes it cleanly. Let the deck dry fully before continuing.
02 · Align before you peel
Hold the new sheet above the deck — still backed — and confirm it covers the full surface with a small overhang on all sides. You can’t reposition once the adhesive contacts the wood. Take the extra 30 seconds here.
03 · Apply from the center outward
Peel back a few inches of backing from one end. Press that section onto the center of the deck first, then slowly peel and press outward toward both ends simultaneously. Use firm, consistent pressure with your palm — not your fingertips — to push out air as you go. Work slowly. Bubbles that form during application are difficult to remove cleanly afterward.
04 · Press all edges firmly
Once the full sheet is down, go back over every edge and the full surface with firm palm pressure. Pay extra attention to the nose and tail — these are where lifting begins if adhesion is incomplete.
05 · Score and trim the edges
Use the screwdriver or pen to rub firmly along the underside of the deck edge. This scores the grip tape along the exact deck outline. Run your craft knife along this scored line at a slight inward angle, trimming the overhang cleanly. Take your time on curves — rushing here is where most cuts go wrong.
06 · File the cut edges
Take a scrap piece of grip tape and rub it along the freshly cut edges of the new sheet. This knocks off any raised burrs and seals the edge against early peeling. It takes about two minutes and meaningfully extends how long the tape stays attached at the edges.
Stand on the board. Your feet should feel immediately more secure than they did before. If there’s a bubble or a section that feels soft underfoot, press firmly — most small bubbles flatten out under pressure within the first few rides.
Grit Level: Does It Matter for Longboards?
Standard longboard grip tape comes in 80–100 grit, which works well for most riding styles. Here’s the short version of when grit level actually matters:
| Grit | Feel | Best for |
| 60 grit | Very coarse, maximum grip | Downhill, freeride, heavy slides |
| 80–100 grit | Standard grip, moderate shoe wear | Cruising, commuting, carving |
| 120+ grit | Fine, low grip | Not recommended for longboards |
For most riders — campus commuters, weekend cruisers, casual carvers — 80 grit is the right call. It holds your feet without tearing through shoe soles faster than the rest of the board wears out.
For our full breakdown of longboard components and what each one actually affects, see the longboard parts guide. If you’re also thinking about wheels at the same time, our longboard wheels guide covers size and hardness in the same practical terms.
Frequently Asked Questions
How long does longboard grip tape last?
Can I put new grip tape over old grip tape?
What grit level should I get for a longboard?
About the Author

Jordan Ellis
Founder of Groveride · Former urban transportation analyst, Portland OR · Longboard rider since 2019 · Spent 5 years studying how people move through cities before building the board-buying guide that should have existed.
Read Jordan’s full story →