
The difference between knowing how to stop on a longboard and actually being able to stop comes down to one thing: which method you practiced before you needed it.
There are three main ways. One of them is what every beginner should learn first. The other two are for later — and trying them too early is how most new riders end up with road rash.
If you haven’t covered the basics yet, read how to ride a longboard first. Stopping makes a lot more sense once pushing and balance feel automatic.
The Short Answer
Foot braking. That’s your answer for the next month of riding.
It works at walking pace, it works at moderate cruising speed, and it doesn’t require any equipment beyond flat-soled shoes. Every other method builds on the body control you develop from foot braking. Skip it and the other methods become harder to learn, not easier.
Method 1 — Foot Braking (The Only One Beginners Actually Need)
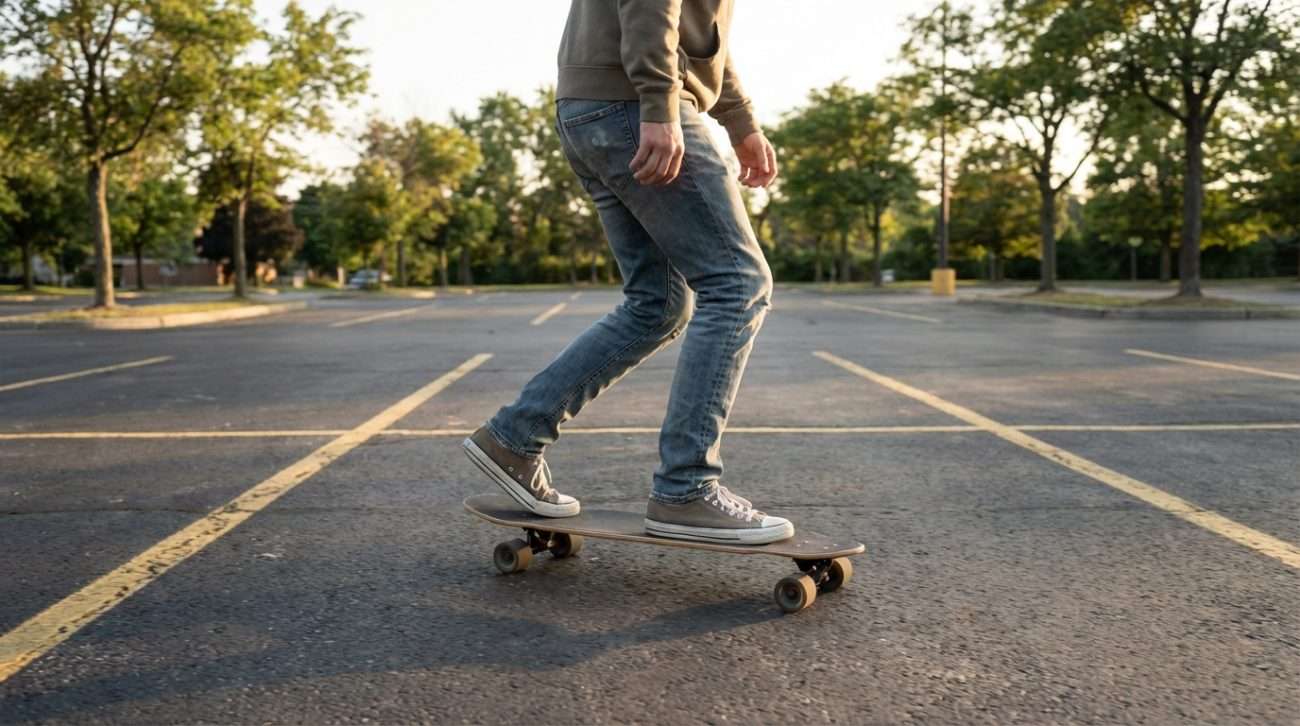
Shift your weight to your front foot. Lower your back foot to the ground. Let it drag — don’t stomp.
That’s the entire technique. The details that matter:
Weight forward first. Before your foot touches the ground, 60–70% of your weight should already be on your front foot. If you drop your back foot while still weight-centered, the board wobbles and so do you.
Light contact, then increase. Start with the lightest possible touch — just enough to feel friction — then gradually press down. Beginners who stomp immediately either lose their balance or stop too fast. Gradual pressure gives you control over how quickly you slow down.
Flat-soled shoes only. Running shoes with thick, curved soles make foot braking harder. Flat soles — canvas sneakers, skate shoes — maximize contact with the ground and give you consistent friction.
Where to practice: Find a gentle slope with a flat runout at the bottom. Roll down slowly, foot brake at the bottom. Do this ten times before you do anything else. Ten times is not an exaggeration — this is the one stop technique that has to feel automatic before you need it on a real street.
We’ve had buyers message us after their first real fall: “I just didn’t brake in time.” Almost every time, the follow-up is the same — they’d never actually practiced foot braking before riding on pavement. One rider scraped her knee on a parking lot slope that she’d ridden a dozen times. Not because the slope was steep. Because she’d never made stopping a habit before speed became a factor.
Method 2 — Carving to Scrub Speed (When Foot Braking Isn’t Enough)
Carving — leaning side to side in wide S-curves — increases the distance you travel down a slope without gaining speed. Done aggressively enough, the wheels scrub against the pavement in a micro-slide and friction slows you down.
This isn’t a replacement for foot braking. It’s a complement: use carving to manage speed on longer hills, then foot brake to come to a full stop.
When to use it: you’re on a slope that’s long enough that foot braking alone would wear out your shoe before you reach the bottom. Carving distributes the braking across the whole descent.
What you need first: comfortable turning at moderate speed. If carving still requires concentration, it’s too early to use it as a braking tool. It needs to feel automatic before you can use it intentionally to control speed.
Method 3 — Sliding (Skip This for Now)
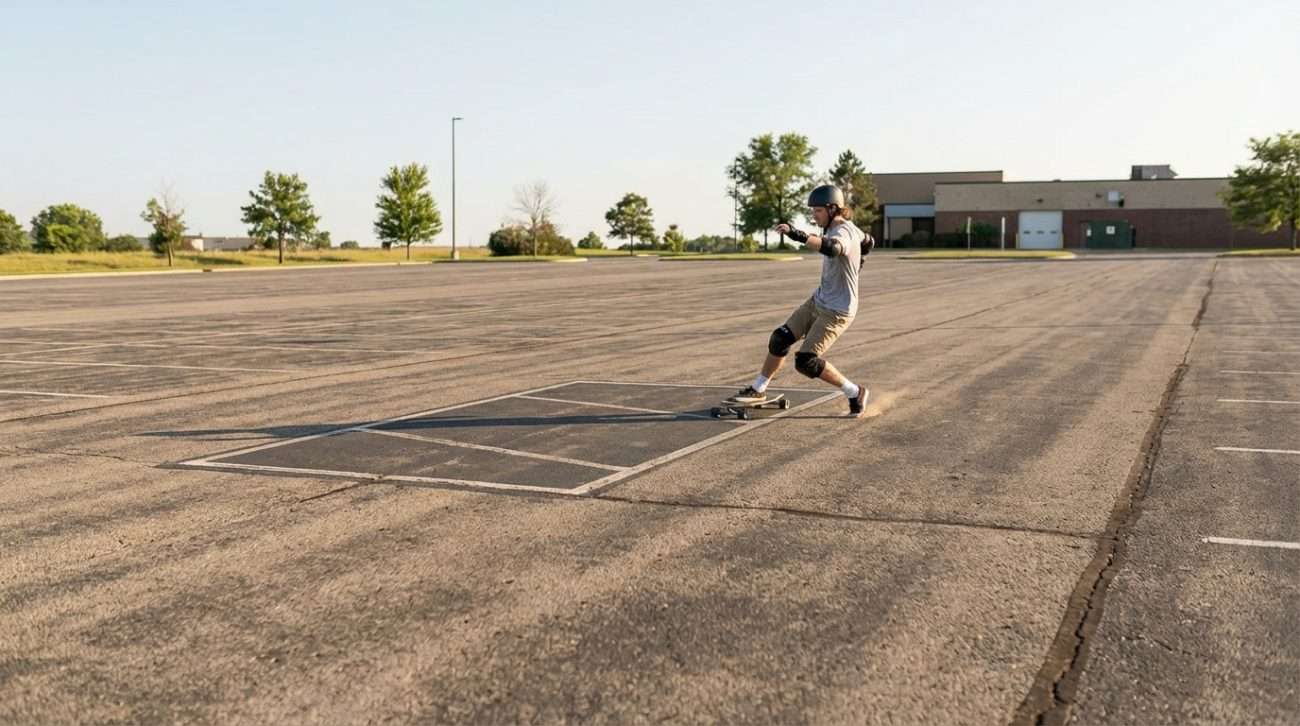
Sliding means turning the board sideways so the wheels lose grip and skid across the pavement — a controlled drift that sheds speed fast. It’s what you see riders use on steep hills.
It requires slide gloves, a specific weight-shift sequence, and enough speed to break traction cleanly. Done wrong at low speed, the board grabs unexpectedly and you fall sideways.
Honestly: if you’re reading this guide, sliding is probably six months away. Learn foot braking until it’s boring. Then learn carving. Sliding will be there when you’re ready.
How to Practice Stopping — the Right Order
Week 1: Foot braking only, on flat ground and very gentle slopes. Ten reps per session, minimum. Goal: it feels automatic.
Week 2–3: Foot braking on steeper terrain. Add carving practice on slopes — not as a stop, just to get comfortable with weight shifts while moving.
Month 2+: Carving as a speed management tool on longer hills, combined with foot braking at the bottom. Sliding only after this feels solid.
The order matters. Each method requires the body control built by the one before it. Jumping ahead is the reason most new riders have their first bad fall — not because longboarding is dangerous, but because they tried to use a technique they hadn’t actually practiced.
For board recommendations matched to each stage, our beginner longboard guide breaks it down by riding scenario. And if you want a full breakdown of all the riding fundamentals — stance, pushing, turning — the how to longboard guide covers the complete progression.
Frequently Asked Questions
What is the easiest way to stop on a longboard?
Foot braking. Lower your back foot to the ground with light pressure while keeping your weight on your front foot. It works at any speed a beginner is likely to reach, and it takes one or two sessions to feel natural.
How do I stop on a longboard going downhill?
Use carving to manage your speed throughout the descent — lean side to side in wide S-curves — then foot brake to stop completely at the bottom. If the hill is steep enough that neither method feels sufficient, that hill is too steep for your current skill level. Ride within what you can stop from.
Can you brake on a longboard without sliding?
Yes. Foot braking and carving both slow you down without any sliding at all. Most riders use only these two methods for years before ever learning to slide — and some never need sliding at all, depending on where they ride.
Do I need special shoes to foot brake?
Flat-soled shoes work best — canvas sneakers or skate shoes. Running shoes with thick, curved soles reduce the contact surface and make consistent friction harder to control. Your shoes will wear on the sole where you drag. That’s normal. It’s a sign you’re actually practicing.
Why do I keep falling when I try to foot brake?
Almost always one of two reasons: weight isn’t shifted forward enough before the foot touches the ground, or pressure is applied too suddenly. Both cause the board to shoot out from under you. Fix: slow down until foot braking feels boring, then gradually increase speed.

Jordan Ellis
Founder, Groveride · Former urban transportation analyst · Portland, OR
Jordan spent five years studying how people move through cities before building Groveride. Content is based on direct board testing on Portland city streets, real rider questions, and hands-on product evaluation. Where conclusions are observational rather than lab-verified, this is noted in the text. Last reviewed: April 2026.