
Most longboard performance problems aren’t the board. They’re the bearings.
A set of bearings that started out smooth can turn gritty and slow in a few months if they pick up enough dirt and moisture — which they will, because they’re four inches from the ground. The good news is that cleaning longboard bearings is a 20-minute job that costs almost nothing, and it restores most of the original roll quality.
Here’s how to do it properly, what to avoid, and how to tell when cleaning is no longer worth the effort.
Why Bearings Degrade (and Why It Happens Faster Than You Expect)
Bearings are small steel balls rolling inside a ring, separated by a cage, and lubricated with a thin layer of oil or grease. That lubrication is what makes them spin freely. When dirt, water, or grit gets inside and mixes with the lubricant, it turns abrasive — the opposite of what you need.
The problem isn’t dramatic. It happens slowly. You don’t notice the first 10% of performance loss, or the 20%. By the time you notice the board feels harder to push or sounds rough on a roll, the bearings have usually been degrading for weeks.
A few things accelerate the process:
▹ Riding in light rain or on wet roads — water gets past the bearing shields and washes out lubrication. Even riding through a puddle once matters. ▹ Campus and city riding — pavement grit, sand, and fine debris are constantly kicking up toward the bearings. ▹ Storing the board on its wheels — any moisture in the floor surface wicks upward over time.
None of this means bearings require constant attention. It means they require occasional attention — which most riders skip entirely until something goes wrong.
How to Clean Longboard Bearings: Step by Step
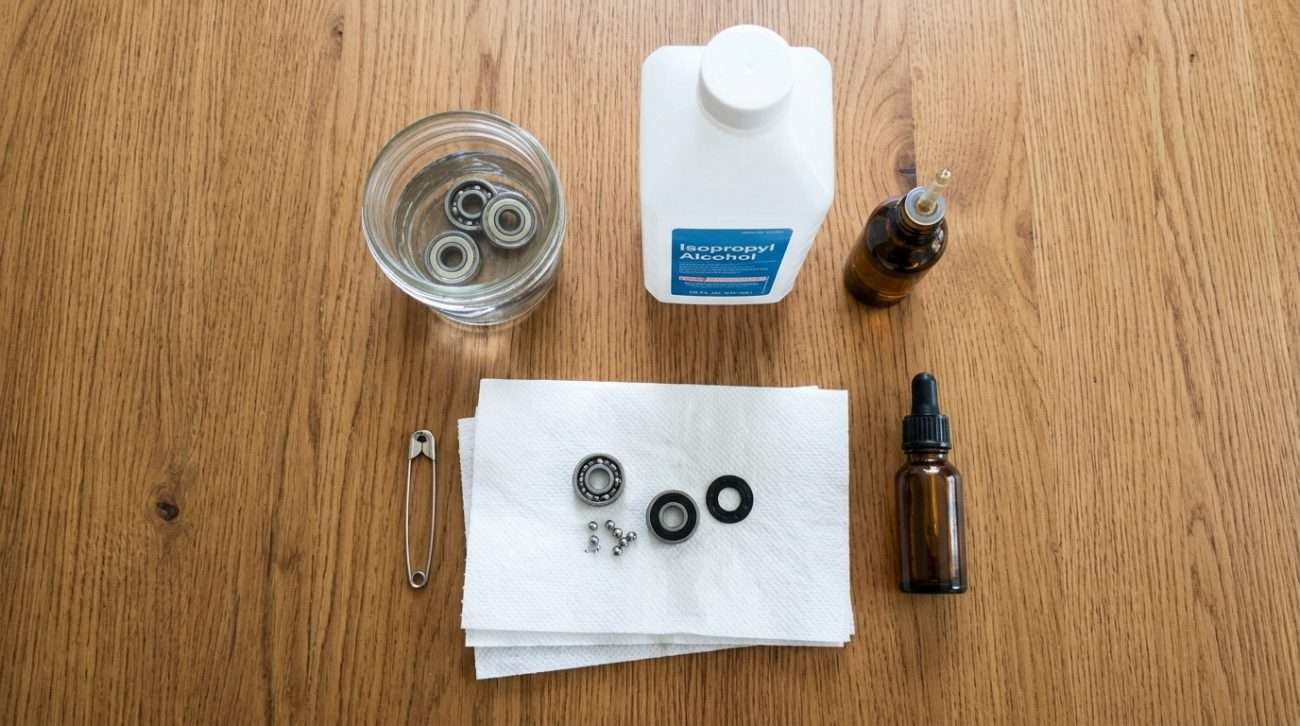
What you need: ▹ Isopropyl alcohol (90%+ concentration) or dedicated bearing cleaner ▹ A small glass jar with a lid ▹ Paper towels or a clean cloth ▹ A safety pin or thin pick for removing bearing shields ▹ Bearing lubricant or light machine oil (sewing machine oil works)
01 · Remove the bearings from your wheels
Tip your board on its side and remove one wheel by unscrewing the axle nut. The bearing sits inside the wheel hub. Hook the axle against the inner edge of the bearing and lever it out — it pops free with light pressure. Two bearings per wheel, eight total.
02 · Remove the bearing shields
Each bearing has one or two rubber or metal shields covering the inner race. Rubber shields can be popped off with a safety pin inserted into the small gap at the edge — work around the circumference gently. Metal shields are held in place by a C-clip; use the pin to lift the clip free first. Set the shields aside — they go back on after cleaning.
Sealed bearings (no removable shield) cannot be properly cleaned this way. If yours are fully sealed, replace rather than attempt to clean.
03 · Soak in isopropyl alcohol
Drop all eight bearings into the glass jar, fill with isopropyl alcohol until the bearings are submerged, seal the lid, and shake for 30–60 seconds. The alcohol breaks down the contaminated lubricant and suspends the grit. Pour out the liquid — it will be noticeably darker — and repeat with fresh alcohol until the liquid runs clear. This usually takes two rounds.
Do not use WD-40 here. It is a water displacer, not a lubricant, and it strips the remaining lubrication without replacing it. Bearings treated with WD-40 corrode faster than untreated dirty bearings.
04 · Dry the bearings completely
Lay the bearings on a paper towel and allow them to air dry for 10–15 minutes, or spin them gently with a pen to accelerate drying. They need to be fully dry before lubrication — any residual alcohol will dilute the new lubricant and reduce its effectiveness.
05 · Lubricate
Apply one or two drops of bearing lubricant to the inner race of each bearing. Spin the bearing by hand to distribute the oil evenly across all the balls. One or two drops is the correct amount — more is not better. Excess lubricant attracts dirt faster and creates drag.
06 · Replace the shields and reinstall
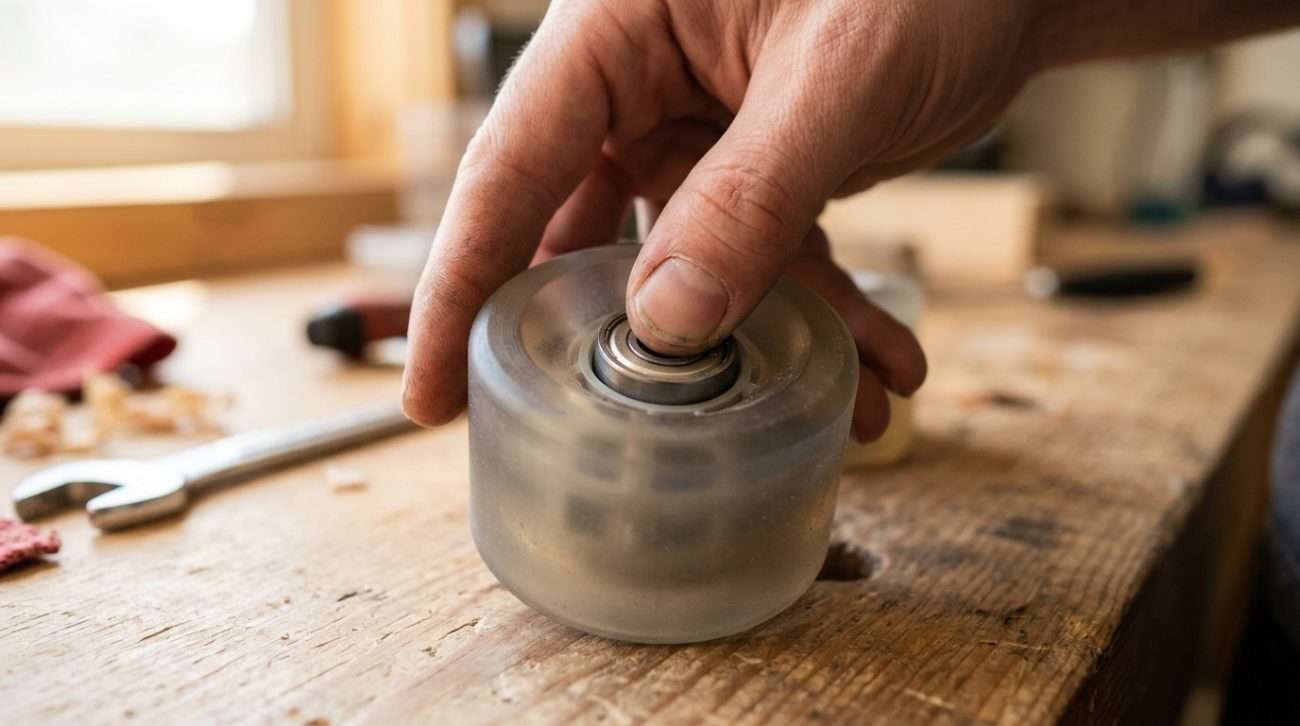
Press the shields back into position — they should click or seat flush with light finger pressure. Reinstall the bearings into the wheels, remount the wheels, and spin each one. A clean, properly lubricated bearing spins freely and quietly. Any remaining roughness or noise after cleaning is a sign the bearing needs replacing, not more cleaning.
When Cleaning Is No Longer Worth It
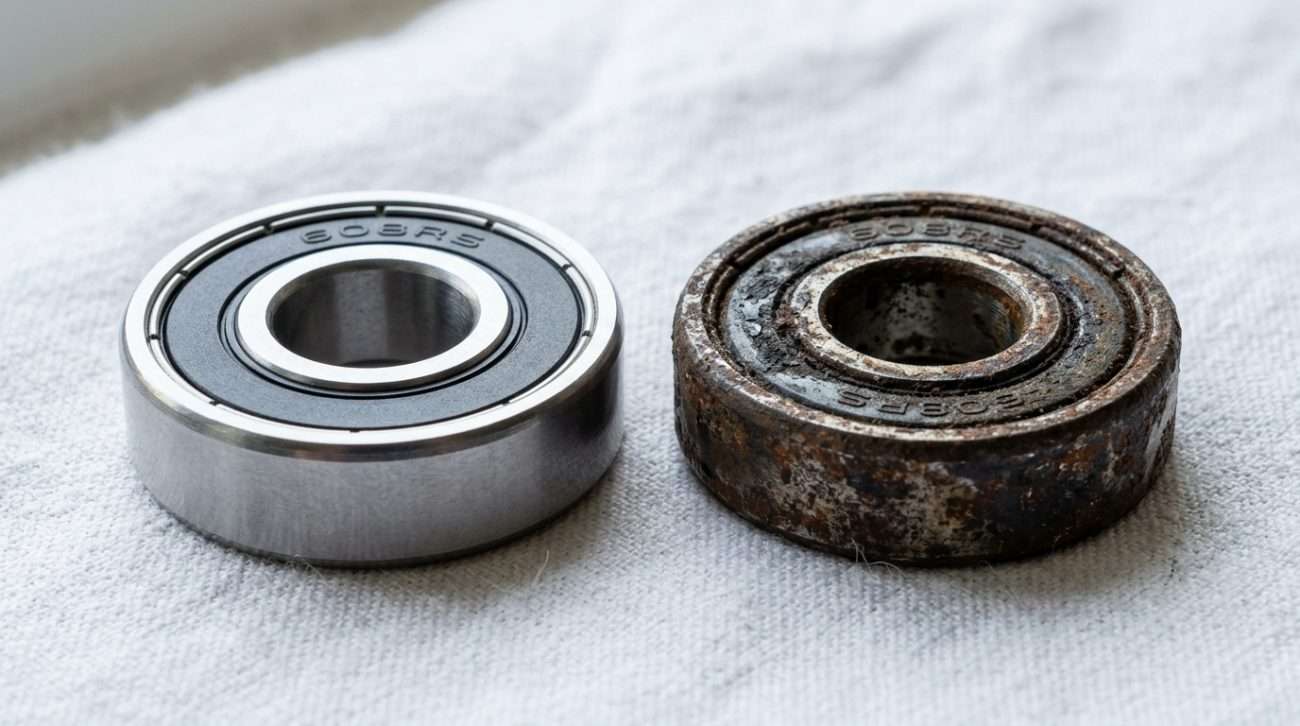
Cleaning restores bearings that are dirty. It doesn’t fix bearings that are worn or damaged. Replace rather than clean when:
▹ The bearing still sounds rough after a full clean and re-lube. Roughness after cleaning means the balls or races are pitted. Pitted bearings don’t recover — they just wear faster.
▹ There is visible rust on the outer or inner race. Surface rust can sometimes be cleaned off; deep corrosion cannot. If the rust has reached the balls themselves, the bearing is done.
▹ The bearing feels loose or has noticeable play when you wiggle it. This indicates the balls or races are worn beyond tolerance. No amount of lubrication restores proper fit.
▹ The shields are damaged or missing and the bearing has been ridden without them. Without shields, bearings pick up debris rapidly. By the time you notice, the damage is usually extensive.
A set of replacement bearings runs $10–$30 for a full set of eight. For context, that’s less than the cost of one wheel upgrade — and worn bearings affect roll quality more than most wheel changes.
When choosing replacements, ABEC rating (3, 5, 7, 9) is less important than most listings suggest for longboard speeds. ABEC-5 or ABEC-7 is sufficient for any riding below downhill racing speeds. What matters more is build quality and whether the shields are rubber (easier to remove and clean) or metal.
Frequently Asked Questions
How often should I clean my longboard bearings?
For regular commuters (3–5 rides per week), every 2–3 months is a reasonable interval. If you ride in wet or dusty conditions, clean them monthly. The clearest signal is sound — if your bearings start making a gritty or rattling noise during a roll, clean them immediately regardless of schedule.
Can I use WD-40 to clean longboard bearings?
No. WD-40 is a water displacer, not a lubricant. It strips existing lubrication and leaves bearings drier and more vulnerable to corrosion than before. Use isopropyl alcohol or a dedicated bearing cleaner to clean, then re-lubricate with a proper bearing lubricant or light machine oil.
How long do longboard bearings last?
Well-maintained bearings last 1–3 years under regular use. Bearings that are never cleaned or lubricated can fail within a few months, especially in wet or dirty conditions. The biggest factor is not how much you ride — it’s how consistently you maintain them.
For the full picture on longboard components — wheels, trucks, bushings, and how they work together — see our longboard parts guide. If your roll still feels off after cleaning bearings, the issue may be wheel hardness — our longboard wheels guide covers that in the same plain-language terms. And if the deck surface feels slippery rather than the roll, check the grip tape guide first.
About the Author

Jordan Ellis
Founder of Groveride · Former urban transportation analyst, Portland OR · Longboard rider since 2019 · Spent 5 years studying how people move through cities before building the board-buying guide that should have existed.
Read Jordan’s full story →