
Building your own longboard is a legitimate project. But let’s get one thing out of the way first: it’s not a way to save money, and it’s not a reliable way to get a better board than you’d buy for the same cost.
What it is: a satisfying build project that gives you complete control over every component and a much more specific understanding of how the thing under your feet actually works. If that’s what you’re after, it’s worth doing properly. If you’re doing it to cut costs or to get performance beyond what’s commercially available at your budget — the math doesn’t support it, and this guide will show you why.
There are two distinct approaches. Which one you take depends on how deep you want to go.
Path A vs Path B: Choose Before You Start
There are two ways to “build” a longboard, and they require completely different investments of time, tools, and money.
| Path A: Assemble from parts | Path B: Build the deck from raw wood | |
| What you’re doing | Choosing and combining deck, trucks, wheels, bearings | Pressing, shaping, and finishing a deck from scratch, then adding components |
| Time required | 1–3 hours | 2–4 full days |
| Tools needed | Skate tool, screwdriver | Jigsaw or bandsaw, orbital sander, vacuum press or clamps, finishing supplies |
| Cost vs buying complete | $10–$30 more than equivalent complete | $50–$150 more, depending on tools owned |
| Result | A board tuned to your exact riding style | A custom deck with your geometry and flex — plus the components you add |
| Best for | Riders who want specific component control | People who want the build process itself |
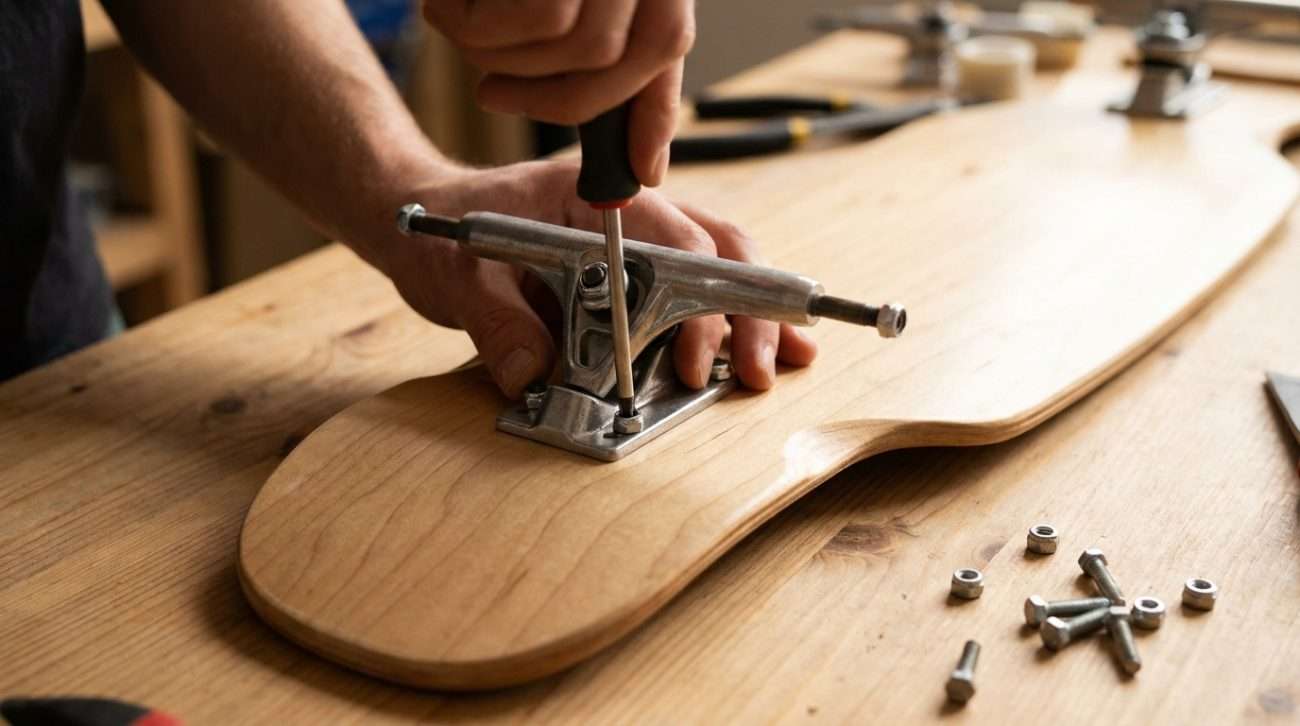
Most people searching “how to build a longboard” are actually looking for Path A — assembling a complete from chosen parts. That’s a better starting point than it sounds: you’ll end up with a board that fits your riding style more precisely than any off-the-shelf complete, and you’ll understand every piece of it. Path B is for people who specifically want to work with wood.
Path A: How to Assemble a Longboard from Parts
Assembling from parts takes 1–3 hours and produces a board precisely matched to how you ride. Total cost typically runs $120–$220 depending on components.
You need five things. In this order:
01 · Deck
Pick your shape based on riding style — not aesthetics. Drop-through decks (trucks mount through the board) sit lower and are more stable for commuting and distance pushing. Top-mount decks (trucks mount underneath) have more turning leverage and are better for carving. Pintail shapes are forgiving for beginners. Length: 38–42″ is the practical range for most adult riders. Our longboard parts guide has a full breakdown of deck shapes and what each one does.
02 · Trucks
Match truck width to deck width — within about 1/4″ of the deck’s axle width. 180mm trucks pair with wider decks (9″+ width); 150mm trucks pair with narrower decks. Reverse kingpin (RKP) trucks are standard for longboarding — they turn more smoothly at lower lean angles than traditional kingpin trucks. Budget $40–$70 for a decent pair (Paris, Caliber, Bear). Cheap trucks at $15–$20 are the component most likely to make your build feel cheap.
03 · Wheels
For commuting and cruising: 70–75mm diameter, 78A–80A durometer (softer, absorbs road texture). For carving on smooth surfaces: 65–70mm, 82A–84A. Harder wheels (85A+) are for skate parks and very smooth pavement only — they’ll shake your teeth on real urban surfaces. See the longboard wheels guide for a detailed size and hardness breakdown.
04 · Bearings and spacers
One set of 8 bearings (two per wheel). Bones Reds at $15–$18 are the default recommendation — no further research needed. Add spacers ($5–$8) if you plan to carve or slide. Full detail in the longboard bearings guide.
05 · Hardware and grip tape
Hardware: 1″ bolts for standard trucks, 1.25″ if you’re adding riser pads. A riser pad between deck and truck ($5–$8) is worth adding if your wheel diameter exceeds 70mm — it prevents wheelbite on sharp turns. Grip tape: one standard sheet covers any deck up to 44″. Black 80-grit is the reliable default.
Assembly order: grip tape first (before mounting anything), then trucks, then wheels with bearings and spacers, then tighten axle nuts until there’s no wheel wobble but wheels still spin freely when flicked. Done.
Path B: How to Build a Longboard Deck from Raw Wood
Building a deck from scratch takes 2–4 days and requires a basic woodworking setup. The deck itself costs $30–$60 in materials; add components and you’re at $150–$280 total.
This is a real woodworking project. If you don’t have access to a jigsaw, sander, and either a vacuum press or a lot of clamps, factor in renting or borrowing them before you start.
What you need:
▹ Wood: 2–3 sheets of 1/8″ Baltic birch plywood (the standard for longboard decks). Maple veneer is more traditional but harder to source and work with for a first build. Bamboo is an option for flex-focused builds but requires different pressing technique.
▹ Adhesive: Wood glue (Titebond II or similar). Spread evenly, no dry spots, no excess pooling at edges.
▹ Press: A vacuum press produces the cleanest result — even pressure across the whole deck allows consistent flex and concave. A coffin press (two boards clamped together around a mold) works but requires more setup. If you’re improvising with weights and clamps, accept that your first deck will have imperfections.
▹ Shaping tools: Jigsaw or bandsaw for cutting the outline, orbital sander (60-grit to start, finish with 120–220), spokeshave or chisel for edge work if you want a refined feel.
▹ Finishing: 3–4 coats of water-based polyurethane, sanding lightly between coats. Skip this and the deck absorbs moisture and delaminates within a season.
The process:
01 · Design and template
Draw your shape on paper or cardboard at full scale. Standard longboard dimensions: 38–42″ long, 9–10″ wide. Trace onto the wood stack before gluing — it’s easier to align sheets before pressing than after.
02 · Press
Apply glue between each layer, align carefully (grain direction matters — alternating grain between layers adds strength), press under even load for at least 6 hours. Don’t rush the cure — pressing time determines deck strength more than any other step.
03 · Cut and shape
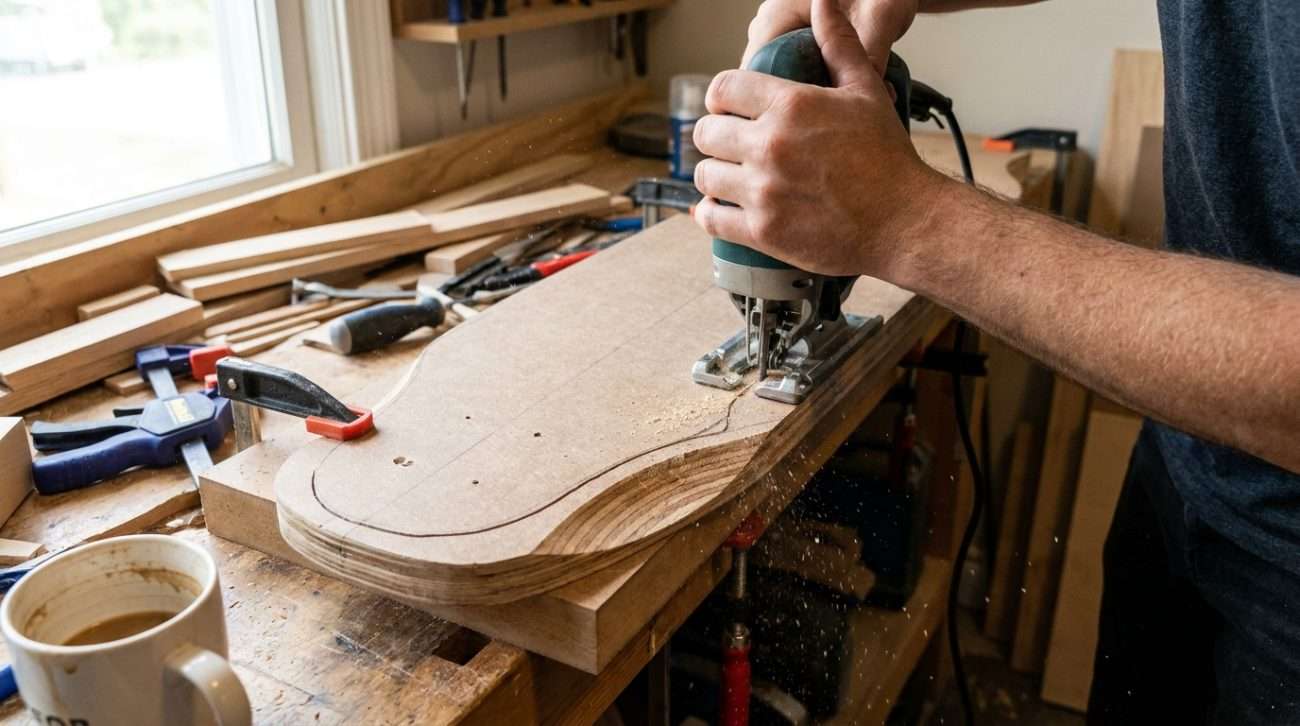
Trace your template onto the pressed blank and cut the outline. Cut slightly outside your line and sand to final shape — it’s much easier to remove material than to add it. Shape the edges with a sander or spokeshave until the perimeter feels smooth and consistent.
04 · Drill truck holes
Measure twice. Standard truck hole patterns are 2.5″ × 2″ for most longboard trucks — verify against your specific trucks before drilling. Countersink the holes slightly on the top surface so hardware sits flush.
05 · Finish
Sand the full deck to 220-grit before finishing. Apply 3–4 coats of polyurethane, light sanding between coats. Let the final coat cure fully (48 hours minimum) before applying grip tape or mounting trucks.
The Five Mistakes Most First-Time Builders Make
Knowing these before you start saves a ruined deck or a board that doesn’t roll correctly.
▹ Mounting trucks backwards. Both trucks should point outward — kingpin facing out, away from the center of the board. Mounted inward, the board turns the wrong direction and feels completely wrong underfoot. Check before you drill.
▹ Skipping spacers. Tightening axle nuts without spacers between the two bearings in each wheel crushes the inner races over time. The wheels feel fine initially, then develop play and noise within a few months. Spacers cost $5. Add them.
▹ Under-finishing the deck. One coat of poly looks done. It isn’t. One season of real riding in variable weather will delaminate an under-finished deck — the layers separate from the edges inward. Three to four full coats minimum.
▹ Buying cheap trucks. The deck can be imperfect and the board still rides. Trucks that flex, wobble, or have soft kingpin threads make every ride worse and can’t be compensated for by better components elsewhere. Spend properly on trucks.
▹ Wrong hardware length. 1″ hardware with no risers, 1.25″ with risers. Too short and the bolt doesn’t engage the nut fully. Too long and the bolt end contacts the deck underside. Neither is catastrophic, but both are avoidable.
When Building Is the Wrong Choice
If your goal is the lowest cost per ride or the highest performance per dollar, buying a pre-built complete wins every time under $200.
A complete at $130–$160 from a reputable brand has been component-matched by people who do this every day, comes assembled and adjusted, and is covered by a warranty. The time you’d spend sourcing parts, assembling, and troubleshooting a build buys a lot of riding hours instead.
Build a board when you want to build a board — not as a workaround to the economics of buying one. That’s not a knock on the project. It’s just honest about what it is.
If you’re still figuring out what kind of riding you want to do before committing to a build, our beginner longboard buying guide walks through riding styles and what each one needs from a board — useful context whether you’re building or buying.
Frequently Asked Questions
How much does it cost to build a longboard from scratch?
Do you need special tools to build a longboard deck?
Is a DIY longboard as good as a store-bought one?
Decided a pre-built complete is the better call right now?
Every board in our selection is hand-picked with clear notes on who it’s for, what riding style it suits, and when you’ll want to upgrade. No guesswork on component matching required.
Browse Longboard Completes →About the Author

Jordan Ellis
Founder of Groveride · Former urban transportation analyst, Portland OR · Longboard rider since 2019 · Spent 5 years studying how people move through cities before building the board-buying guide that should have existed.
Read Jordan’s full story →